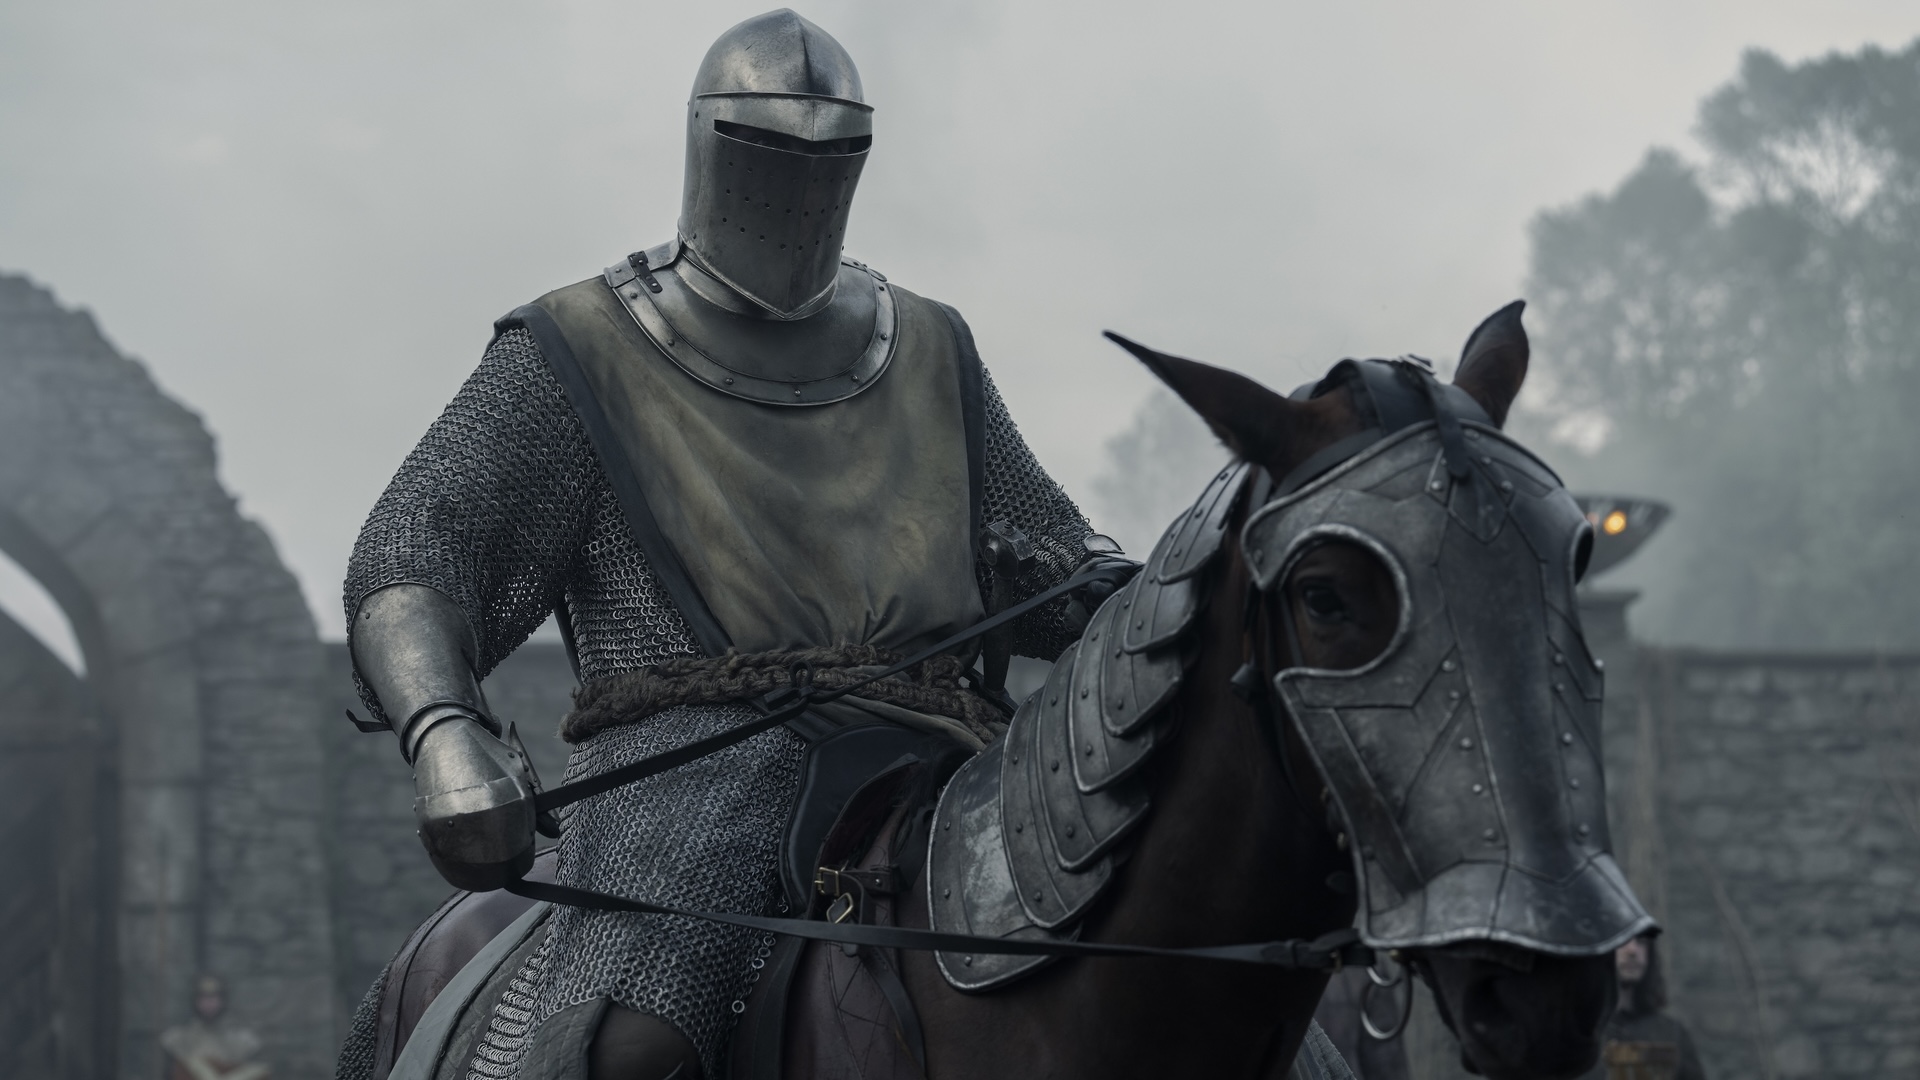
No matter which Supermassive Interactive game you’re in, outlasting the horror feels much like starring in a slasher movie, and Directive 8020 is no different. Your characters’ survival and their choices dictate exactly how this sci-fi adventure ends.
So, what predicament will you leave the crew of Cassiopeia in by the time the credits roll?
Here are all Directive 8020 endings and exactly what you need to do to unlock them.
Warning for story spoilers, do not read if you haven’t yet completed episode seven – Revelation.
Table of contents
All Directive 8020 endings and how to get them
Much like any Dark Pictures game, the endings of Directive 8020 have distinct main differences until they branch out into smaller variations of one another. Here are the main endings you can get before branching out into smaller pathways, based on your choices:
- Escape (four main branches): The crew uses the S.E.V. to escape Tau Ceti f, heading to either the vacant Cassiopeia in orbit or the Booster Ring.
- Abandoned (two main branches): Either Anders or Williams is left behind, where an imposter escapes on the S.E.V. with any survivors.
- Horror (one branch): None of the crew survives.
Let’s break down what you need to do to get each ending and what variations cause consequences in the Turning Points menu.
Escape: Good and best endings
There are two conclusions and two post-credit endings here, based on the Destinies of Brianna Young and Laura Eisele.
If you managed to keep everyone alive up until episode eight, then the good endings branch off into two scenarios. This is based on a choice you make as Young in “Why You Started.” You need her Loyal trait over halfway by the time you reach this Turning Point to unlock The Hero Destiny. You can do this by sympathizing and supporting the crew whenever Young is on-screen. The best times to do this are:
- Plead in “The Crown Falls” – episode six.
- Sympathize in “Making the Call” – episode six.
- Think of the others in “Holdout” – episode seven.
- Think the cloning program is wrong in “Why You Started” – episode eight.
Young will then make a wish, eight years prior to the game’s main events. Deciding whether survival is more important than humanity or vice versa alters which escape route will be handed to Cycle 13 in the present. These are to tell them about the vacant Cassiopeia or that the crew figures out they can escape to the Booster Ring.
Regardless of whether you made it to the Booster Ring or Cassiopeia, the cycle continues with the consequence “Forever and Ever” playing out.
But here is where things get really interesting. This is already two separate endings, as the crew ended up in a different place based on Young’s Destiny. But, there’s another layer to this that comes into fruition following the crew’s interviews and credits. Here, the perspective shifts one last time—to the original Eisele. Her Destiny determines the final outcome of Directive 8020 in the post-credits scene:
- The Scientist (Rational trait): Eisele prioritizes progress over humanity and the cycle continues.
- The Humanitarian (Sympathetic trait): Eisele puts an end to the cycle program.
You can determine Eisele’s Destiny as early as episode two.
In both conclusions, Young is arrested for breaching confidentiality, breaking NDA, and disclosing the cloning program to Cycle 13. It’s unconfirmed, but you could theorize that Cycle 14 may run into the previous before landing on Tau Ceti f, giving them information Corinth doesn’t want them to have. After all, their distress beacon from the Booster Ring is picked up by the next cycle, three months after Cycle 13 escaped Tau.
Abandoned: Bad ending
This ending highlights the crew escaping Tau Ceti f with a stowaway disguised as one of them. The easiest way to get this ending is either by “rescuing” the imposter Anders in Revelation (by going left when the scanner reads two paths to her location), or getting Cernan or Eisele killed during their stealth missions in episode eight, so they are replaced by a mimic when they reappear at “Knock Knock,” whereby you let them in.
You need to reach the finale and escape Tau Ceti f via the S.E.V. Whoever was the imposter will kill the remainder of the crew, resulting in this ending. You can get another version of this same kind of ending by having only the Growth imposing as the crew escapes on the S.E.V. Aim for either a fake Cernan or Eisele, getting everyone else killed before the reactor explodes. This means when you blast into orbit, the S.E.V. continues moving as the Growth is unable to pilot or dock it.
There are multiple variations of this ending, primarily being who’s alive when you leave the planet. You can leave Williams in the crash-landed Cassiopeia when he insists on staying in “Second Chances,” where he will die to the Cassiopeia exploding, or abandon the real Anders, who is trapped on the planet with no way out.
Horror: Worst ending
To get this ending, you must purposely get everyone killed. Carter and Simms don’t so much matter here, but seeing as you’re aiming to get everyone killed anyway, you might as well hunt down all Death Scenes while you’re at it. There’s also the question of how to get the NPCs killed: Anders, Mitchell, and Williams. Here’s a rundown of the easiest way to destroy Cycle 13, one crewmember at a time:
- Keep an eye on Anders in “Little Faith” when Mitchell expresses his concerns to Stafford. This will get Williams killed in Mr. Williams as the “Big Brother” consequence unlocks. Alternatively, be as serious as possible when controlling Cooper so that she refuses to help Anders in “Suspicions.”
- Deactivate the Fire Control in “Power Games” to get Mitchell killed in Mr. Williams or abandon Mitchell at the door in “Knock Knock.”
- Save Mitchell in “Power Games” or leave the real Anders outside when she gets lost.
The best way to get everyone killed is within episode eight, where you can fail all QTEs or purposely get caught by the lifeform. The Cassiopeia, now overgrown with the Growth, will fill with copies of the crew, defeating them for the thirteenth time.
The post Directive 8020 endings guide: All Destinies, choices, and variations appeared first on Destructoid.
The Royal Highlands update in Palia has made the map bigger, but we can save our time and energy by finding a horse for ourselves. To make matters even better, all of us can have the mount for free.
However, there are a few tasks to complete before we can get our hands on our stallion.
How to unlock your horse in Palia Royal Highlands update
The first task is to reach the Royal Highlands region. If you’re someone new to the game, you should still be able to access the location. However, you’ll come across certain spoilers for content related to the main campaign.
Next, we will need to find Hassian, an NPC, and you’ll find a horse next to him. The horse next to Hassian will be trapped in amber. You’ll have to free it by using your pickaxe, which can be done after starting the Before the Dawn quest.
Next, look for Dawnspur Lilies to feed the horse. You’ll find the flowers in the nearby locations, and they’re easy to find. Once you find three flowers, return to the horse. Hassian will then ask you to ride the new mount. He will claim that the horse appears to be fond of you, and you’ll find out if that’s not the case. Hassian will then return to the camp, leaving you with your mount.
Open the tool menu and choose the saddle icon. You’ll now find the horse added to your list of options. Select the horse, and it will appear as your ride. You move on the horse by using the same controls that you use for your character.
Do note that your horse will have a stamina gauge that will empty when it sprints. Once the bar is depleted, it will move more slowly until the stamina is refilled. To prevent that from happening, move through golden orbs since that will partially restore the lost stamina.
Combined with your ranch, you can also breed your horses and ride them. It’s a really cool mechanic that will save a lot of time during exploration. Since new players can also access Royal Highlands early, you can make your mount a part of your journey.
The post How to get a horse in Palia – Before the Dawn walkthrough appeared first on Destructoid.
Recommended Story For You :

Think of it as a GPS system for World of Warcraft

FIFA 2023 ULTIMATE TEAM MILLIONS MADE EASY

Joana's Clssic WotLK 1-80 & Era 1-60 Speed Leveling Guides

Empowering Gamers with the Ultimate Secret Gold Guide

A Practical Guide For Tactical Gaming

Terra Game - Where Adventure Awaits!