The Necrobinder is one of the two new characters in Slay the Spire 2, and it’s a slightly tricky one to manage.
Unlike the other four choices, the Necrobinder doesn’t fight alone. She has her loyal minion in the form of Osty. To win more fights, you’ll have to strengthen Osty efficiently. Let’s look at how to master the angel of death to clear all available acts.
Table of contents
How to use Necrobinder in Slay the Spire 2
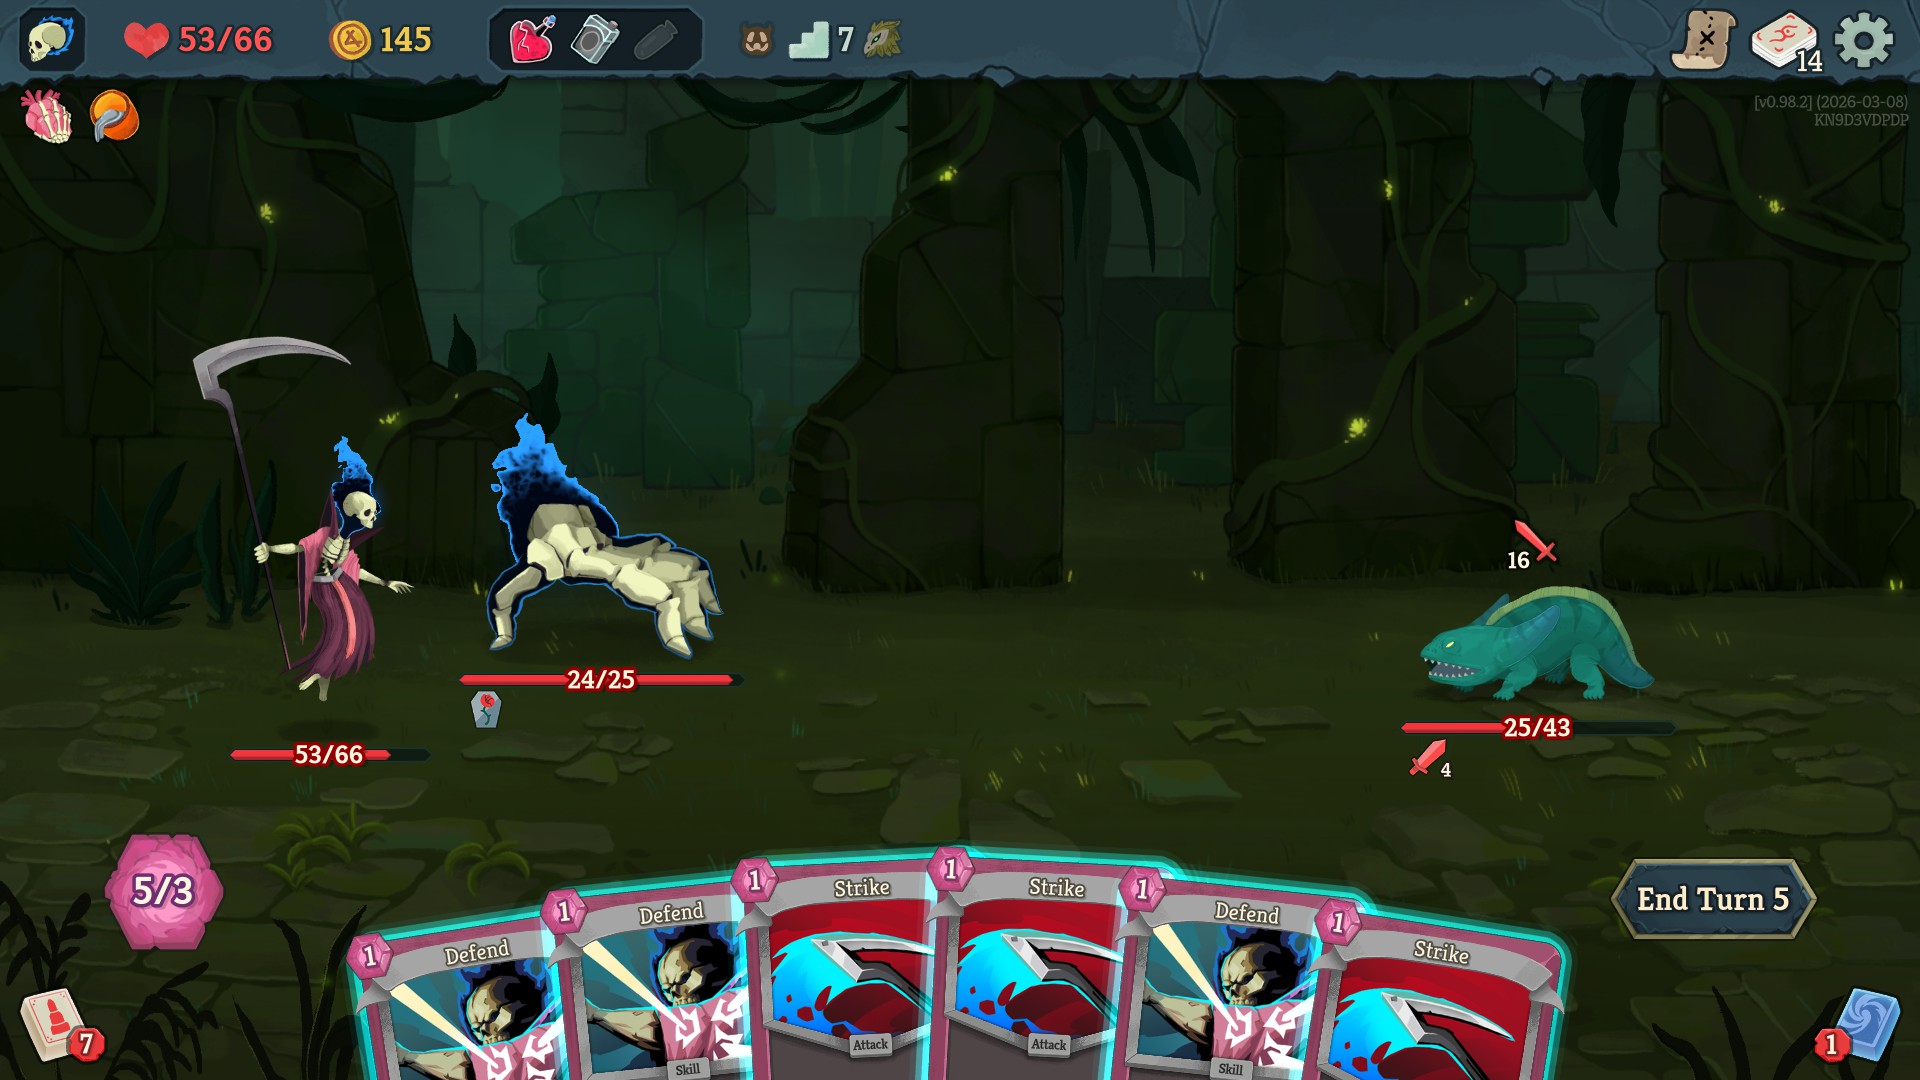
The Necrobinder is a spellcaster who can use death and abilities around it to defeat enemies. However, she’s not alone, as she’s well supported by Osty. Her companion can do and take damage, and often works as a shield for her.
However, she is also arguably the most difficult character to manage. She has the lowest health pool among all available choices. Her deck also requires a lot of synergy between the cards to bring the best out of her. With Necrobinder, you’ll have to be patient to set up the combos before you can go on the offensive.
Best Necrobinder deck in Slay the Spire 2
There are two approaches to take with Necrobinder. One route is to use the Doom mechanic. While I am yet to get consistent success with Doom, utilizing Osty is the way to go. It’s easier to set up your companion to do massive damage once you’ve got a key piece in play.
The core strategy is simple: you build up Otsy while thinning down Necrobinder’s options. Once Otsy has enough HP, he will act as your shield (and also your damage dealer).
Early commons and uncommons
| Card | Reason |
|---|---|
| Protector | For 1 Energy, Osty does 10 damage. If you have increased Osty’s HP, it will increase the damage by the same amount. |
| Snap | For 1 Energy, you get to do 7 damage and also retain a card to play next turn. |
| High Five | You get to do 11 damage to all enemies, and also apply Vulnerable for them. For 2 Energy, that’s a great outcome. |
| Rattle | This card allows Osty to do 7 damage and land multiple hits based on how many times he has attacked in a turn. |
Best cards
| Card | Reason |
|---|---|
| Fetch | The card costs 0 Energy while allowing Osty to do 3 damage and draw a card. Allows you to trigger cards like Flatten for 0 Energy. |
| Flatten | Once you manage to land a singular attack with Osty in a turn, this card can be used to 12 damage for free. |
| Reanimate | You can spend 3 Energy to grow Osty by 20. |
| Sic ‘Em | You spend 1 Energy to do 5 damage, but Osty will also grow by 2 every time he attacks in a turn. |
| Spur | For 1 Energy, you get to grow Osty by 3 and heal him further by 5. |
Best relics for Necrobinder in Slay the Spire 2
Necrobinder doesn’t require any specific relic as such to shine. With Otsy, you can go with almost any relic, but look out for the Bone Flute. It allows her to gain 2 Block whenever Otsy does damage. The additional shield can always prove to be useful.
The post Best Necrobinder build in Slay the Spire 2: Best cards, strategy, and more appeared first on Destructoid.
The Parasitism 5 contract is a priority task to complete for the Sekiguchi faction in Marathon, and it’s a collection of three different activities.
Parasitism 5 is the final contract in the series, and this guide will help you complete all three tasks.
Table of contents
Marathon Parasitism 5 contract walkthrough
The Parasitism 5 contract can be broken down into three tasks.
- Extract biotic sample from Sparkleaf in Bio-Research
- Synthesize SIMbiont in Quarantine and inject yourself
- Allow the SIMbiont to integrate with your shell; then exfil
How to extract biotic sample from Sparkleaf in Bio-Research
For the first task, head to the Bio-Research location in the northern area of the map. You’ll first need to pick up Sparkleaf that can grow among vegetation.
They don’t have a specific location, but they’re fairly common. Once you find a Sparkleaf, head to the marked location in the image below.
You’ll find an extraction machine to extract a biotic sample from the Sparkleaf (place it in its inventory and then wait for a few seconds).
How to synthesize SIMbiont in Quarantine and inject yourself
Pick up the sample and head to the southwest part of the map, where you’ll find the Quarantine POI. I have marked the location where you’ll find a small room with the terminal inside (will be highlighted by a quest marker when you’re at the marked spot).
Access the Synthesizer and place the sample to get the SIMbiont. Inject yourself with the item and then wait for 1 minute and 30 seconds. You’ll need to survive a UESC onslaught as the SIMbiont integrates with your shell. Once you manage to survive the 90 seconds, safely exfil from the map, and you’ll complete the final Parasitism contract in Marathon.
The post How to synthesize SIMbiont in Quarantine in Marathon – Parasitism 5 guide appeared first on Destructoid.
Recommended Story For You :

Think of it as a GPS system for World of Warcraft

FIFA 2023 ULTIMATE TEAM MILLIONS MADE EASY

Joana's Clssic WotLK 1-80 & Era 1-60 Speed Leveling Guides

Empowering Gamers with the Ultimate Secret Gold Guide

A Practical Guide For Tactical Gaming

Terra Game - Where Adventure Awaits!