The Division 2 Y7S3 Mutiny Week 4 Manhunt has finally had its first HVT of the season to hunt, and doing so is necessary if you’re looking to complete Scout 4 objectives.
Taking down the HVT is pretty much necessary if you’re planning to take down the Manhunt target that will appear in the Mutiny finale. This guide will help you clear all the steps in the Scout 4 operations.
Table of contents
The Division 2 Y7S3 Mutiny Week 4 Manhunt HVT guide
Scout 4 operations begin with a specific set of clues that will be visible after you activate it. Here’s what the set of hints suggests.
- “A group of former JTF personnel have been captured. Intel suggests Major Bungler might be involved.”
- “Major Bungler has ordered extra troops to Jefferson Plaza to crack down on defections.”
- “Reports indicate that Major Bungler is in Southwest.”
While your task is to decode these hints, the following steps will make things easier for you.
Complete a hostage rescue
The first task of Mutiny Week 4 Manhunt requires you to find an activity marked with a green handcuff symbol. You’ll only find this symbol once you take control of every Control Point in a district. Go to the location and clear all hostiles. You’ll get a random key drop from an enemy, which will open a door (highlighted once you clear all enemies). Use the key to spare the hostages, and this completes the first objective.
Complete Jefferson Plaza
The next task is to clear the Jefferson Plaza on any difficulty. Located in the Southwest part of the DC map, you’ll find stairs leading down to an underground metro station. Start the main mission available at this location at any difficulty to get more information about the HVT to take down. If you want to get this done quickly, your best bet is to lower the difficulty.
Complete the Major Bungler
The last challenge will pit you against Major Bungler. He is the first HVT of the Y7S3 Manhunt campaign, and you can find him in the southwest district. You’ll first have to begin the Bounty and withstand three waves of enemies.
Major Bungler will then appear, carrying a lot of arsenal. You should target the weapons first, since they can break. This will make the fight easier. You can also use your companions to help you clear the reinforcements without having to do it by yourself.
Once done, you will receive an audio transmission. This transmission will reveal an interesting story plot that I will not spoil. Completing it will bring you one step closer to completing the seasonal finale.
The post The Division 2 Y7S3 Mutiny Week 4 Manhunt HVT: Scout 4 solutions appeared first on Destructoid.
The Lost Colony DLC in ARK Survival Ascended has been one of the biggest content updates to date, and it has its own share of bosses to take down.
The new expansion and all the related content revolve around the Arat Prime map. There are two main bosses on the new map: the Lost King and the Lost Queen. This guide will provide you with all the essential information to know if you’re looking to complete the expansion as quickly as possible.
All ARK Survival Ascended bosses in Lost Colony DLC
As mentioned earlier, there are two main bosses to take down: Lost King and Lost Queen.
Lost King
The Lost King is actually the main boss of Arat Prime. We already knew about his looks, all thanks to the trailer. You can find him at his palace, which is the hardest stage to complete. To enter, you’ll need to craft a Red-Handed relic. Lost King comes in three different variants, with each having its own requirements.
Alpha
- Five Alpha Ossidon Skill
- Ten Alpha Zombie Brainn
- 200 Prime Aberrant Sigil
- 200 Prime Crimson Sigil
- 15 Neophyte Horns
Beta
- Onne Alpha Ossidon Skull
- Five Alpha Zombie Brain
- 150 Greater Aberrant Sigil
- 150 Greater Crimson Sigil
- Ten Neophyte Horns
Gamma
- One Alpha Zombie Brain
- 100 Minor Crimson Sigil
- 100 Minor Aberrant Sigil
- Five Neophyte Horns
The Lost King is one of the most challenging enemies to take down, but doing so has its own rewards. For one, you get to complete the new story, which is pretty intense. This is also the only legitimate way of gaining a Gigadesmodus for yourself.
Lost Queen
Once you defeat the Lost King, you’ll have to face the Lost Queen. You’ll get to know that she was defeated by Lost King, who made her his queen. The location is the same as the fight directly transits to Lost Queen.
Like Lost King, the Lost Queen battle will have mutople phases. Once you deal enough damage, she will become temporarily immune. You’ll then have to break the beam to prevent her from healing and continue the fight.
Once you defeat her, interact with the codex to lower the castle shields and turn the Arat Prime back to its original form. Defeating the Lost Queen officially completes the full Lost Colony DLC campaign.
The post All bosses in ARK Survival Ascended Lost Colony DLC appeared first on Destructoid.
Recommended Story For You :
Think of it as a GPS system for World of Warcraft

FIFA 2023 ULTIMATE TEAM MILLIONS MADE EASY
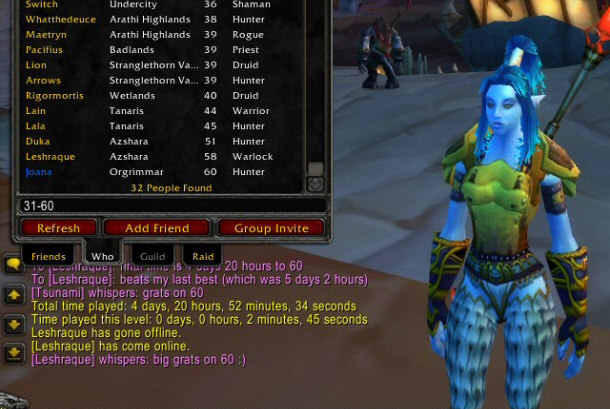
Joana's Clssic WotLK 1-80 & Era 1-60 Speed Leveling Guides

Empowering Gamers with the Ultimate Secret Gold Guide
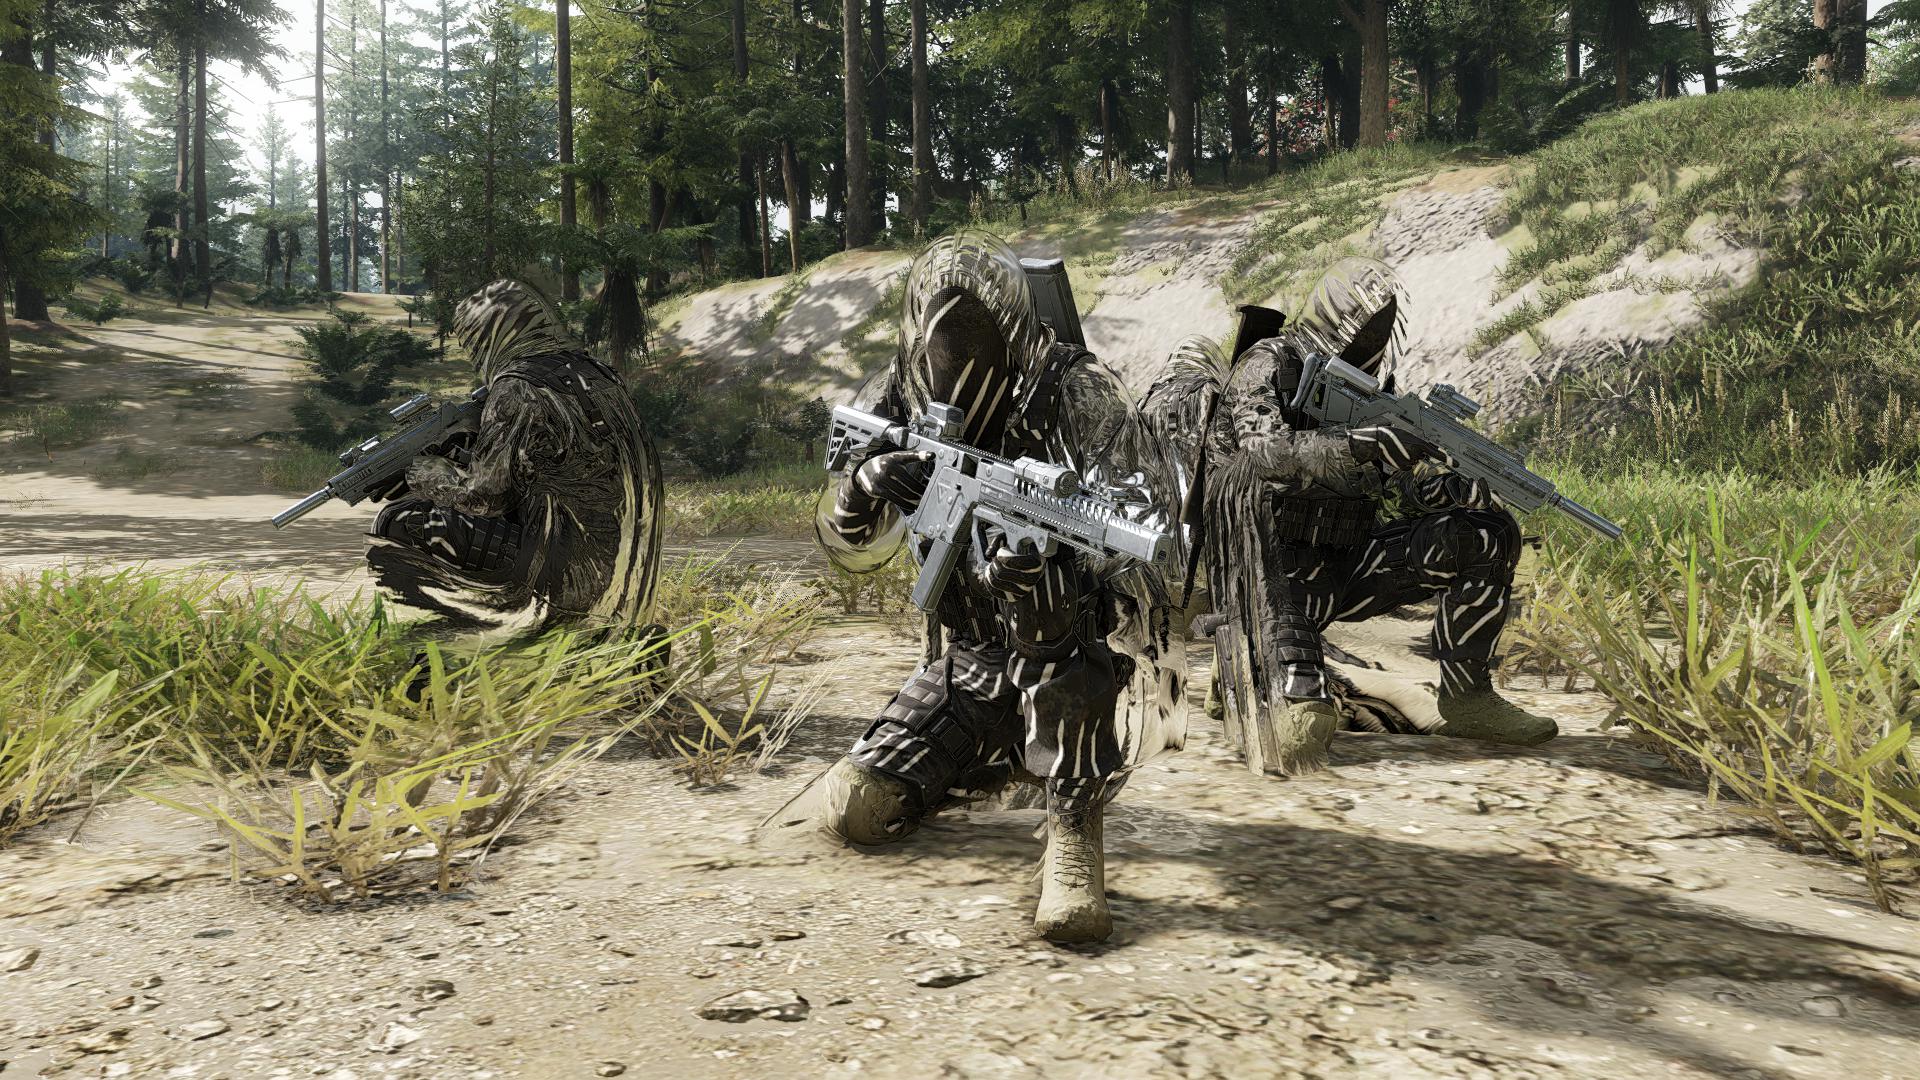
A Practical Guide For Tactical Gaming
Terra Game - Where Adventure Awaits!