Marathon has seven different Runner Shells available at launch, and you’ll need to pick what suits your playstyle the most.
Shells are unique playstyles you choose before starting a round. Think of them like advanced suits that determine your in-game abilities and traits. Every Shell also has unique gadgets to use in the battle.
As you might have imagined, some Shells already appear to be ahead of the curve. But their strengths and weaknesses also depend on whether you’re playing solo or in a squad.
Table of contents
Marathon Runner Shells solo tier list
Solo play in Marathon appears to be quite dangerous. You can be ganked by opponents while trying to counter the UESC threat all on your own. Hence, you’ll need Shells that can do almost everything on their own and don’t rely on their allies too much.
S-tier
| Shell | Reason |
|---|---|
| Recon | While I love playing Recon in a group, the class can do equally well alone. The tracking tick allows you track and find the location of the enemy. Having this knowledge is key since you can fight on your own terms. It also reduces the chance of you getting ganked by the enemy (more so if they’re in a group). The class’ Prime Ability allows you to figure out the exact location of the enemy, which is even better than the tick. Moreover, he directly counters other Shells that have invisibility in their kit. |
| Assassin | If you’re playing alone, you have to be on the offensive. In my experience, playing defensive while solo can be dangerous. When you have the ability to be invisible, you can catch the enemy unaware. Smoke Screen also allows you an escape route if things don’t go as per your plan. However, you’ll want to be careful with Assassin. Don’t engage head-on, and wait for the opportunity to arise. This Shell also raises the scope for you to third-party. |
| Vandal | Vandal is an excellent choice for those who don’t want something simpler than either Recon or Assassin. Vandal has plenty of abilities to boost her speed. You can use Microjets for double jump mid-air, or use the Power Slide to escape enemy fire. That said, Vandal takes time to learn and master, as you’ll want to be extremely mobile on your run. Once you master her, Vandal could be the best solo Runner Shell in the entire game. |
A-tier
| Shell | Reason |
|---|---|
| Destroyer | The Destroyer is one of the most well-rounded Shells, and very easy to master. The Ultimate is out of this world as it can nuke enemies to oblivion. The Flash Shield provides you with protection if you get caught in the open. His health is pretty high that allows you to recover from mistakes that you might make as a beginner. Additionally, his Thursters provide him with that tiny boost, which can be game-changing in certain situations. |
B-tier
| Shell | Reason |
|---|---|
| Thief | Thief is pretty fun if you like being a “thief” on a run. You can swoop around and steal directly from your opponents, and your drone will do the scouting for you. The Grapple is fantastic for either gaining the high ground or escaping from a murky situation. However, she doesn’t have any traits that can give her an advantage in a straight fight. When you’re fighting alone, you’ll need that extra support for winning the fight. |
| Triage | Triage is the only Shell with healing abilities, but they are pretty useless if you’re not playing in a squad. While you can always heal yourself, that’s not the optimum way to use the class and its powers. He has the ability to supercharge his weapon, but that’s not even close to the potential firepower of Shells like Destroyer, Recon, and Assassin. |
Marathon Runner Shells squads tier list
The dynamics change drastically when you’re playing Marathon in squads. For starters, some of the runners that are almost unusable in solo play become viable.
S-tier
| Shell | Reason |
|---|---|
| Recon | Recon not only excels in solo play, but he is also excellent with groups. Since you can figure out the location of the enemies, it allows you pass the information to your teammates. Ideally, you would want to play with aggressive Shells like Destroyer and Assassin, who will do the bulk of damage. |
| Triage | While Triage is pretty useless in solo, he’s a must-have in every team. At some point, every team will come under enemy fire. Having Triage ensures that all your allies stay alive, and you can heal them from a distance. You can also share the benefits of the healing consumables among all your allies, which saves more resources. |
| Thief | Since the drone can scout your opponents, this completely changes the dynamic when you’re playing as a group. The simple use of marking the enemies for your allies is absolutely godsend in certain situations. Plus, you can always steal from your opponents to get some valuable loot. |
A-tier
| Shell | Reason |
|---|---|
| Destroyer | The Destroyer is one of the most well-rounded Shells, and more so if you’re playing in a group. The Flash Shield allows you to protect your teammates, who can fire from behind it without taking any damage. His Prime ability will allow you to turn on the offensive when you’re fighting a group while your allies are down. |
| Assassin | While Assassin’s invisibility and smoke still remain viable in group play, they’re no longer as overpowered. Moreover, the abilities don’t have any direct synergy with most other Shell abilities, which is a bit of a bummer. |
B-tier
| Shell | Reason |
|---|---|
| Vandal | Vandal is an excellent choice in teams since her mobility has no negatives. You can move more quickly and jump higher, which can help your team in certain situations. You can also survive on your own if you get separated from your allies. However, she has nothing worth noting in a group play, which is the exact opposite of how she operates in solo play. |
You’ll notice that Rook is missing from the lists. Honestly, I have yet to ascertain what value he truly offers. While Rook is a great Shell, you can’t customize the loadout to your liking. If you’re down on resources, he’s a great choice. Otherwise, there isn’t much use in playing as Rook over the other Shells.
The post Marathon Shells tier list: All runners ranked for solo and squads appeared first on Destructoid.
Farming bosses for powerful Swords, Melee (Combat) Specs, Accessories, and other items is the go-to of every Sailor Piece player in the late game. However, bosses are important to grind in all stages of progression, and finding the right ones to fight early on can be challenging. With that in mind, we prepared the following all Sailor Piece boss locations and drops guide to help you out.
Table of Contents
All Sailor Piece Boss Locations & Drops
Some bosses in Sailor Piece spawn naturally in several locations; others can be spawned by interacting with specific NPCs around the map. Specific bosses only spawn in Dungeons, such as Shadow and Shadow Monarch, for example. To get drops from a boss, you need to damage it for at least 10% of its HP. The pity system guarantees you get a rare drop from every 25th boss you defeat. So, a good strategy for farming rare boss items is to defeat 24 easy bosses, and then do one boss you need items from to trigger the pity drop.
Below is a list of all bosses in Sailor Piece, along with their locations and drops:
Open World Bosses
Open world bosses respawn at set intervals since they have been defeated. Since most open-world bosses respawn every 5 minutes, you can easily farm all of them on a private server and farm regular mobs while waiting for them to respawn again.
| Boss | Drops | Spawn Location |
|---|---|---|
| • Haki Color Reroll (80%) • Race Reroll (50%) • Trait Reroll (40%) • Boss Ticket (35%) • Dungeon Key (25%) • Abyss Edge (17.5%) • Dark Ring (7%) • Shadow Heart (2%) • Jinwoo Cape [Accessory] (3%) • Shadow Monarch [Title] (3%) | Sailor Island (6.5m cooldown after Alucard) | |
| • Race Reroll (85%) • Trait Reroll (80%) • Boss Ticket (40%) • Dungeon Key (33%) • Soul Amulet (8%) • Casull (2%) • Blood Ring (2%) • Alucard Coat [Accessory] (3%) • Vampire King [Title] (2.5%) | Sailor Island (5m cooldown after Jinwoo) | |
| • Haki Color Reroll (45%) • Race Reroll (35%) • Trait Reroll (25%) • Boss Ticket (20%) • Dungeon Key (12.5%) • Energy Core (25%) • Flash Impact (9%) • Divergent Pulse (4%) • Yuji Hair [Accessory] (5%) • Living Weapon [Title] (5%) | Shibuya Station (5m cooldown) | |
| • Haki Color Reroll (50%) • Race Reroll (35%) • Trait Reroll (27.5%) • Boss Ticket (25%) • Dungeon Key (15%) • Limitless Key (30%) • Void Fragment (20%) • Limitless Ring (8%) • Infinity Core (3%) • Gojo Blindfold [Accessory] (5%) • Honored One [Title] (5%) | Shibuya Station (5m cooldown) | |
| • Haki Color Reroll (60%) • Race Reroll (40%) • Trait Reroll (32.5%) • Boss Ticket (30%) • Dungeon Key (20%) • Malevolent Key (30%) • Cursed Finger (20%) • Dismantle Fang (8%) • Crimson Heart (2.5%) • Sukuna Collar [Accessory] (4%) • Curse King [Title] (4%) | Shibuya Station (5m cooldown) | |
| • Haki Color Reroll (100%) • Race Reroll (85%) • Trait Reroll (75%) • Boss Ticket (45%) • Dungeon Key (30%) • Mirage Pendant (20%) • Illusion Prism (8%) • Reiatsu Core (3%) • Hogyoku Fragment (1.2%) • Aizen Haori [Accessory] (2%) • Manipulator [Title] (2%) | Hueco Mundo (5m cooldown) | |
| • Race Reroll (100%) • Trait Reroll (100%) • Boss Ticket (55%) • Dungeon Key (45%) • 1-2x Heart (100%) • Divine Fragment (6%) • Sacred Bow (4%) • Radiant Core (2%) • Pink Gem (0.75%) • Ultimate Wings [Accessory] (1.5%) • Star Maiden [Title] (1.2%) | Valentine Island (6.5m cooldown) |
Spawnable Bosses
Spawnable bosses need to be spawned by you or other players at certain NPCs using specific items. If you are missing the items needed to spawn a specific boss, you can find other players farming the same boss on the Sailor Piece Discord server and join them for the grind.
| Boss | Drops | Spawn Location |
|---|---|---|
| • Haki Color Reroll (60%) • Race Reroll (40%) • Trait Reroll (25%) • Boss Ticket (100%) • Dungeon Key (10%) • Saber [Sword] (2%) • Saber Armor [Accessory] (5%) • Blade Master [Title] (5%) | Boss Island Cost: 1x Boss Key 100,000 Cash 175 Gems | |
| • Haki Color Reroll (75%) • Race Reroll (50%) • Trait Reroll (40%) • Boss Ticket (100%) • Dungeon Key (15%) • Jade Tablet (6%) • Imperial Seal (2%) • Qin Shi Blindfold [Accessory] (2.5%) • King of Beginning [Title] (1.5%) | Boss Island Cost: 3x Boss Key 250,000 Cash 400 Gems | |
| • Haki Color Reroll (85%) • Race Reroll (80%) • Trait Reroll (60%) • Boss Ticket (100%) • Dungeon Key (20%) • Soul Fragment (6%) • Spiritual Core (1.75%) • Soul Flame (0.7%) • Hollow Mask [Accessory] (2%) • Soul Reaper [Title] (1%) | Boss Island Cost: 5x Boss Key 350,000 Cash 600 Gems | |
| • Race Reroll (100%) • Trait Reroll (80%) • Boss Ticket (100%) • Dungeon Key (30%) • Throne Remnant (11.5%) • Ancient Shard (4.5%) • Golden Essence (1.5%) • Phantasm Core (0.5%) • Gilgamesh Armor [Accessory] (1.15%) • Golden King [Title] (1%) | Boss Island Cost: 1x Divine Grail 500K Cash 500 Gems | |
| • Reversal Pulse (15%) • Six Eye (6%) • Blue Singularity (2%) • Infinity Essence (0.65%) • Gojo Haori [Accessory] (1.15%) • Strongest Sorcerer [Title] (1%) | Shinjuku Island Cost: 1x Limitless Key | |
| • Awakened Cursed Finger (15%) • Vessel Ring (6%) • Malevolent Soul (2%) • Cursed Flesh (0.65%) • Divine Wheel [Accessory] (1.15%) • Disgraced One [Title] (1%) | Shinjuku Island Cost: 1x Malevolent Key | |
| • Sage Pulse (13.5%) • Tempest Seal (5.5%) • Slime Remnant (1.75%) • Slime Core (0.55%) • Slime Wings [Accessory] (1.25%) • Demon Lord [Title] (0.9%) | Slime Island Cost: 1x Slime Key | |
| • Demonic Fragment (11.5%) • Demonic Shard (4.5%) • Destruction Eye (1%) • Imperial Mark (0.5%) • Anos Outfit [Accessory] (0.75%) • Demon King [Title] (1%) | Academy Island Cost: 1x Calamity Seal |
Dungeon Bosses
Dungeon bosses only appear at specific waves of certain Dungeons. Grinding these bosses requires you to stay in the same dungeon, which means that you won’t be able to efficiently grind world bosses at the same time. Dungeon bosses count towards the boss pity drop counter, which is handy if you want to stack it up before going back to regular boss farming.
| Boss | Drops | Spawn Location |
|---|---|---|
| • Umbral Capsule (12.5%) • Void Seed (4.5%) • Shadow Essence (2%) • Atomic Core (0.75%) • Shadow Cloak [Accessory] (0.85%) • Eminence in Shadow [Title] (1%) | Cid Dungeon (Waves 5/10/15) Cost: 1x Dungeon Ticket | |
| • Monarch Core (6.75%) • Monarch Essence (2.75%) • Kamish Dagger (0.75%) • Shadow Crystal (0.5%) • Monarch Armor [Accessory] (0.75%) • King of Shadows [Title] (0.8%) | Double Dungeon (Waves 5/10/15) Cost: 1x Dungeon Ticket |
Unavailable Bosses
Some bosses appear only during seasonal and other events. Once the event is over, bosses are removed from the game, and they might be available again in the future. The only way to get items that drop from them in the meantime is by trading with other players.
| Boss | Drops | Spawn Location |
|---|---|---|
| • Haki Color Reroll (75%) • Race Reroll (45%) • Trait Reroll (35%) • Boss Ticket (30%) • Dungeon Key (25%) • Wyrm Band (25%) • Black Frost (9%) • Silver Requiem (3.5%) • Ragna Sigil [Accessory] (2%) • Dragon Slayer [Title] (1.5%) | Christmas Island (5m cooldown) [Unavailable] |
How to Spawn Bosses in Sailor Piece
You can spawn bosses at specific NPCs on several islands in Sailor Piece using specific items related to them. Most early game bosses can be spawned at the Boss Island using Boss Keys, Cash, and Gems. Other bosses, such as Anos and Rimuru, can be summoned on their own islands using items that drop from enemies on them.
How to Get Boss Spawn Items
Most items needed to spawn bosses in Sailor Piece drop from specific enemies, so it isn’t possible to farm all of them at the same time. Here is a list of all boss spawn items, with information on how to obtain each one:
| Boss Spawn Item | Obtainable From | Used To Spawn |
|---|---|---|
Boss Key | All types of Chests All non-boss enemies Regular island Quests Merchant Dungeon Shop Event Shop NPCs Trade | Saber Qin Shi Ichigo |
Limitless Key | Gojo Boss (Shibuya Station) Strong Sorcerer (Shinjuku Island) Trade | Strongest of Today |
Malevolent Key | Sukuna Boss (Shibuya Station) Curse (Shinjuku Island) Trade | Strongest in History |
Divine Grail | Crafted using 3 Broken Swords Broken Swords drop from all enemies when using Swords Trade | Gilgamesh |
Slime Key | Crafted using 2 Slime Shards Slime Shards drop from Slime Warriors (Slime Island) Trade | Rimuru |
Calamity Seal | Academy Teacher (Academy Island) All enemies (Rare) Trade | Anos |
Dungeon Key | All types of Chests All Bosses Merchant Trade | Shadow Shadow Monarch |
How to Farm Boss Keys in Sailor Piece
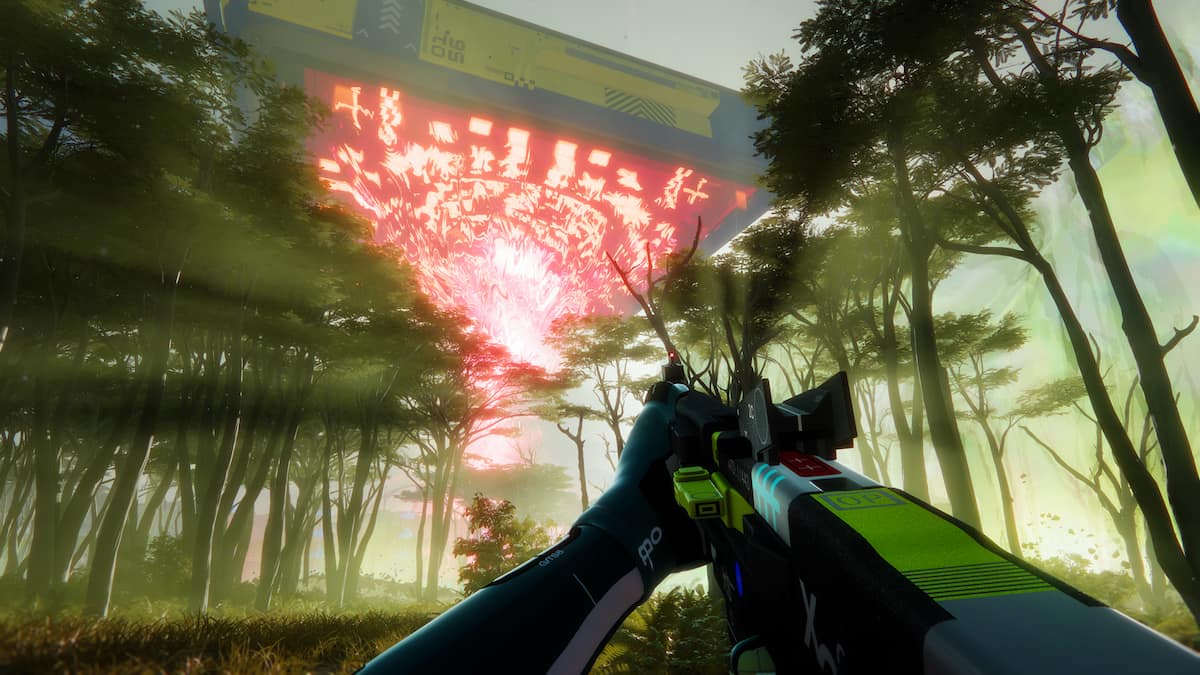
The best way to get Boss Keys in Sailor Piece is to farm regular enemies on the most difficult island, where you can consistently one-shot them. An alternative, but reliable, method is farming Strong Sorcerers and Curse enemies on Shinjuku Island by using the Quake Fruit’s C skill at a specific position near the spawn. Simply position yourself as described in the image above and use the C move off-cooldown to instantly defeat both packs of enemies at the same time.
Besides defeating enemies, you can obtain Boss Keys from all types of Chests as well, and purchase them directly from the Merchant, Dungeon, and some other event NPCs.
How to Spend Boss Tickets
As you defeat bosses, you will keep gaining more and more Boss Tickets, which you can spend at the Boss Exchange on the Boss Island to purchase certain Swords and Melee (Combat) Specs. For now, Boss Tickets only serve as a soft-pity system in cases where you don’t manage to obtain all of the items needed to get Swords or Melee Specs, such as Qin Shi and Ichigo.
That does it for our guide on all Sailor Piece boss locations and drops. If you are looking to improve your build and farm the bosses above with ease, then make sure to check out our Sailor Piece tier list and Haki guide as well.
Sailor Piece Bosses FAQs
To be eligible to receive drops from a boss, you need to deal damage equal to at least 10% of its HP. Otherwise, you won’t receive drops from it.
The best method for farming Boss Keys in Sailor Piece is to repeatedly defeat both packs of mobs on Shinjuku Island at the same time using the Quake Fruit’s C skill.
Before you can spawn the Anos boss in Sailor Piece, you need to complete a quest that requires you to find and interact with two Demonite Fragments on the Academy Island. One of the fragments is on a branch right next to the island spawn, while the other is on the tower section of the Academy building, close to the Anos Trainer NPC. After you complete the quest, you can spawn the Anos boss using Calamity Seals.
The post All Sailor Piece Boss Locations & Drops appeared first on Destructoid.
Recommended Story For You :

Think of it as a GPS system for World of Warcraft

FIFA 2023 ULTIMATE TEAM MILLIONS MADE EASY

Joana's Clssic WotLK 1-80 & Era 1-60 Speed Leveling Guides

Empowering Gamers with the Ultimate Secret Gold Guide

A Practical Guide For Tactical Gaming

Terra Game - Where Adventure Awaits!