If you want to learn all there is to know about Lily Lovebraids and Prototype’s Kryptonite in Poppy Playtime: Chapter 5, then you’d best have your collectible cap on. We’ve got notes to find.
Here are all the notes in Poppy Playtime: Broken Things.
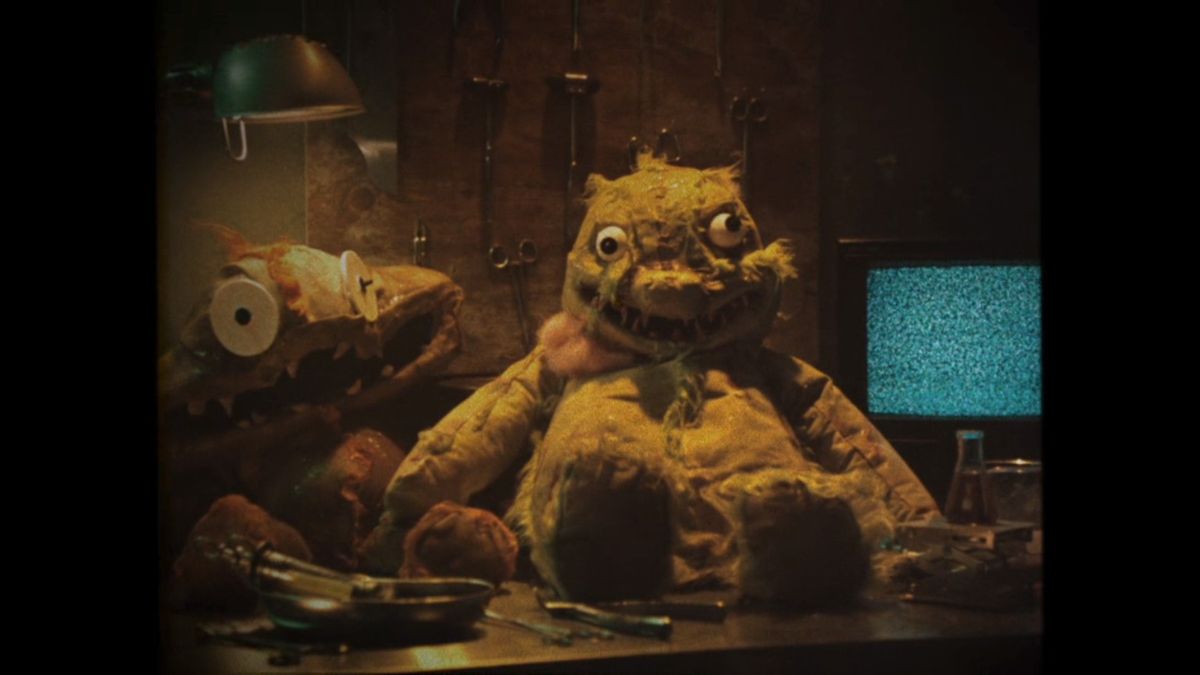
Poppy Playtime: Chapter 5 note locations
We currently have 29/35 notes. All notes are shown in chronological order, including the specific main and sub objectives you can find them in.
This article is a work in progress
An Intercepted Communique
- Objective: N/A
- Sub Objective: N/A
Turn around after falling from the ventilation shaft following the first Huggy Wuggy chase in this chapter. You can grab the note behind you as soon as the game saves.
Inventory – September ’95
- Objective: Find a Way Out
- Sub Objective: N/A
As soon as this objective shows, use the boxes in this room by pulling with both GrabPack hands to create a staircase into the cubby on the top-right corner of this room. The area you’re trying to reach is lit with a yellow hue, and in the opposite direction of where you’re supposed to go.
Wrongside Outimal Branding Note
- Objective: Find a Way Out
- Sub Objective: N/A
Turn on the power in the Outimals area to use the spotlights and scare away any twisted creatures in your search for Glowby (the flashlight). You will climb over a short section where Outimals are talking to one another about your arrival. Drop down and turn left, past an Outimal in a Playtime cardboard box they’ve labelled ‘Home.’ Go through the door at the end and look to the left to find the note on the floor beside a crib.
Giblet’s Checklist
- Objective: Find a GrabPack
- Sub Objective: N/A
Pick this note up off Giblet’s bed after he’s told you about the Boiler Room. His bed is marked with the number ’21.’
The Better Press, Issue 14
- Objective: Find a GrabPack
- Sub Objective: N/A
This note is also in Giblet’s home, on a workshop table near the Doey the Doughman circle rug.
Lab Report: Medium Growth & Plantlife
- Objective: Explore the Biodiversity Labs
- Sub Objective: N/A
When a new objective appears to explore the Biodiversity Labs, the note is near one of the overgrown Growths that resembles tree branches and roots at the start of this section (following the platforming puzzle inside the elevator shafts).
Reminder
- Objective: Explore the Biodiversity Labs
- Sub Objective: N/A
You will enter the vents after picking up the last note, and this drops you into a room of whiteboards. The note is on the whiteboard next to a plate of Limons.
Dr. Arkins Personal Letter 1
- Objective: Explore the Biodiversity Labs
- Sub Objective: N/A
Find this note after you used the Pressure Hand on the Medium Growths and went through the decontamination chamber. Check the cubicle on the right in the small office space in this new area.
GrabPack Hands Rejection
- Objective: Find Prototype Data
- Sub Objective: Search the Engineering Workshop
When the objective ‘Search the Engineering Workshop’ appears, go forward after exiting the decontamination chamber until you are at the back of the room and on the opposite side of the door you entered through. Go past the two shelving units to pick up the note in the corner of this room.
Master Backup? and Negation Compound Presentation
- Objective: Find Prototype Data
- Sub Objective: Search the Engineering Workshop
Unlock the locker with code 5 6 0 to get both the Master Backup? and Negation Compound Presentation (six pages) for seven notes total.
Letter to Leith #1
- Objective: Navigate Through the Engineering Wing
- Sub Objective: N/A
This note is basically on the other side of the room where you picked up the Master Backup? files. It is off-limits on the side you start in, as the red door is jammed. So use the new magnetic feature to latch onto the metal plates and reach the other side of the walkway. Find the note on metal before entering the next decontamination chamber.
To Whomever Finds This
- Objective: Return to Giblet and Chum
- Sub Objective: N/A
Enter the open elevator shaft and peer into the other side to pick up the Playtime power bank. Go to the left of the Pressure Hand lever puzzle and insert the bank into the wall in the corridor that has a red light over the doorframe. This unlocks a small room with the note inside.
in the Conditioning Observations
- Objective: Find a Way to Reanimation
- Sub Objective: N/A
Go to the open blue door to enter the observation rooms disguised as children’s bedrooms. Open the blue door inside the room with a kiddie pool, then the yellow door, and look at the ground in front of the teacher’s desk to find this note.
Letter to Leith #2
- Objective: Find a Way to Reanimation
- Sub Objective: Collect Memories (3)
Watch every Ms. Gracie recording in the projector rooms to unlock and use fire with the Conductor Hand. The Memory is on the desk in the room behind the Lovebraids’ bow on the upper floor of the projector rooms. Grab the note on the floor behind the desk.
Observation: Lily
- Objective: Find a Way to Reanimation
- Sub Objective: Collect Memories (3)
This note is behind the Memory machine, directly in front of the door you’re trying to unlock by entering three separate simulations of Huggy Wuggy’s memories.
Dr. Arkins Personal Letter 2
- Objective: Find a Way to Reanimation
- Sub Objective: Charge the Door Panels/ Use the Projectors to Distract Huggy
This note is on the little shelving unit at the back of Huggy Wuggy’s arena, where the furthest Playtime power bank is stored. You need to turn on the projector in the back room (opposite one of the safe rooms) to get Huggy Wuggy to break the wall, as the door to reach this power bank is locked. The room I’m referring to has a Collectible in a locker on the other side of the wall.
Experiment 1468 Proposal
- Objective: Prepare for the Tea Party
- Sub Objective: Retrieve the (3) Friends
Explore the ground floor of Lovebraids’ home and enter the vent in the corridor before her garage. The note is on the whiteboard in the room on the other side of the vents.
Observation Log: Sweet Street
- Objective: Prepare for the Tea Party
- Sub Objective: Find (3) Friends
Go upstairs in Lovebraids’ home and enter the corridor to the right of the double doors that are blocked off by her hair. Go into the first room on the right, which has a one-way window looking at the music room. The note is on the counter.
Nursery Damage
- Objective: Prepare for the Tea Party
- Sub Objective: Find (3) Friends
Upstairs in Lovebraids’ home, enter the room to the right of the double doors blocked off by hair, and go to the end of the corridor to pick up the note on the table at the dead-end.
Music Sheet – Novice
- Objective: Prepare for the Tea Party
- Sub Objective: Find (3) Friends
On the bookcase inside Lily Lovebraids’ music room on the second floor.
Dr. Arkins Personal Letter 3
- Objective: Find the Backup
- Sub Objective: N/A
All blue doors in this area are locked (Innovation Wing, Molecular Microscope, and Proliferation). You need to climb into the upper floor full of debris, to the left of the Molecular Microscope door, where you’ll drop down into a workshop with chemistry pots, a pressure lever, and sliding doors activated with the GrabPack red and blue hands. You need to find the four-digit code from scraps of paper in this room, but the next note is here, too.
Experiment Notes
- Objective: Find the Backup
- Sub Objective: N/A
This is in the same room as Dr. Arkins Personal Letter 3, where you need a four-digit code to leave the room. The note is in the back-left corner.
L.P. Journal Entry
- Objective: Find the Backup
- Sub Objective: N/A
The final note is at the back of the IT server room. Make sure you check this entire room before activating the backup on the computer in this room (where Giblet is waiting for you), otherwise the game will end. You can always pick this up after finishing the game by clicking ‘Continue’ in the main menu.
The post All Poppy Playtime: Chapter 5 notes and where to find them appeared first on Destructoid.
Star Trek Voyager: Across the Unknown has seven different endings you can access, but most of them are locked behind certain prerequisites.
The ending you reach depends on the decisions you make. This guide will help you figure out all the endings that you can reach.
Table of contents
How to reach all endings in Star Trek Voyager: Across the Unknown
Before we deep dive into the ending, it’s crucial to keep your ship and crew in good shape. To do so, it’s best to create a manual backup file that will be helpful if something goes wrong.
- Manage your ship manually to prevent it from getting destroyed. It should be the obvious thing to do if you’re in a combat.
- Make sure to get a maxed-out warp core before you hit Sector 9.
- You’ll have to use the Vidiian medical device in Faces, but you’ll also need the same device in Sector 6 later. Hence, you’ll want to make sure not to burn the device on B’Elanna (assuming you want to go for the canonical ending).
- If you merge Tuvok and Neelix into Tuvix in the side mission titled Tuvic, you’ll lose the former permanently. This will automatically rule out the canonical ending.
With that out of the way, let’s now look at all the endings. Once you reach Sector 11, you have to decide what happens to Ralik. At this point, create a manual save. If you ally with Ralik, you open up five endings. However, the cost of the paths is extremely high. You have to enter Sector 12 with either 100 Ex-Borg crew and 35 Science Technology, or with a flat 400 pure combat power.
Save Ralik
During your run through Sector 12, choose to disagree with Ralik’s sacrifice to keep him alive. Once you’re past the point of no return, enter the nebula and engage the Borg Cube. From there, you can branch out to the following choices.
- Home, Hub and Holdfast: Don’t destroy the hub, and enter the aperture. Once inside, retreat after changing your mind, and agree to take over the hub with your forces.
- Welcome Home, Voyager: Reject the shortcut and plan to destroy the hub. Reject all crew sacrifices and collect the Borg Vinclum. This will allow you to develop the pathogen that destroys the hub.
- The Calm Before the Storm: For the third branch, follow all the steps as the one that destroys the hub. However, don’t try to save all your crew, and pick someone to die. Then, grab the Vinculum, and give up at the last second. The autopilot will fly you into the aperture, where you’ll be saved by Admiral Janeway (but the mission fails).
Don’t Save Ralik (For the Greater Good)
If you choose to sacrifice Ralik, you have to engage the cube then and plan to destroy the hub. Pick a crew member to sacrifice themselves, and then develop the pathogen. You’ll have to pass three skill checks to defy Admiral Janeway and reject her plans. If you don’t have the necessary stats, you’ll automatically fail the skill checks. If you succeed, you’ll destroy the hub, but leave the Voyager permanently stranded in the Delta Quadrant.
Universal Endings
There are two endings you can reach, irrespective of what you did with Ralik in Sector 11. To reach either ending, you need to get to Sector 12’s point of no return.
- The Long Road Continues: When you face the Borg nebula, refuse to enter it. Tell your crew that another way home has to be found, and fly your ship in the opposite direction. While it does add 15 more years of journey, you can avoid the Borg confrontation.
- Was It Worth It?: For this, you need to enter the nebula and decide not to destroy the hub. You’ll have to fight and defeat the Borg Queen before you reach home.
Conditional Endings
There are two conditional endings that require you to complete specific tasks. One of the two endings can be considered the true conclusion of the story if you’re following the canon.
- The Starfleet Way: Complete the final sector without depending on Borg architecture. Load your save before hitting the point of no return in Sector 12, and delete all Borg rooms from the ship’s layout. Complete all the return home paths with a clean vessel.
- The Canon: You reach Earth with the help of any successful path while ensuring the survival of Tom Paris, Chakotay, Tuvok, Harry Kim, B’Elanna Torres, The Doctor, Seven of Nine, and Icheb.
Incidentally, there’s a hilarious ending in the form of the Stick to the Prime Directive. This is the quickest ending you can reach during Sector 1. If you choose to use the Caretaker’s Array to warp back to the Alpha quadrant immediately, you’ll find the credits rolling as the game ends immediately.
The post All endings in Star Trek Voyager: Across the Unknown appeared first on Destructoid.
Recommended Story For You :

Think of it as a GPS system for World of Warcraft

FIFA 2023 ULTIMATE TEAM MILLIONS MADE EASY

Joana's Clssic WotLK 1-80 & Era 1-60 Speed Leveling Guides

Empowering Gamers with the Ultimate Secret Gold Guide

A Practical Guide For Tactical Gaming

Terra Game - Where Adventure Awaits!