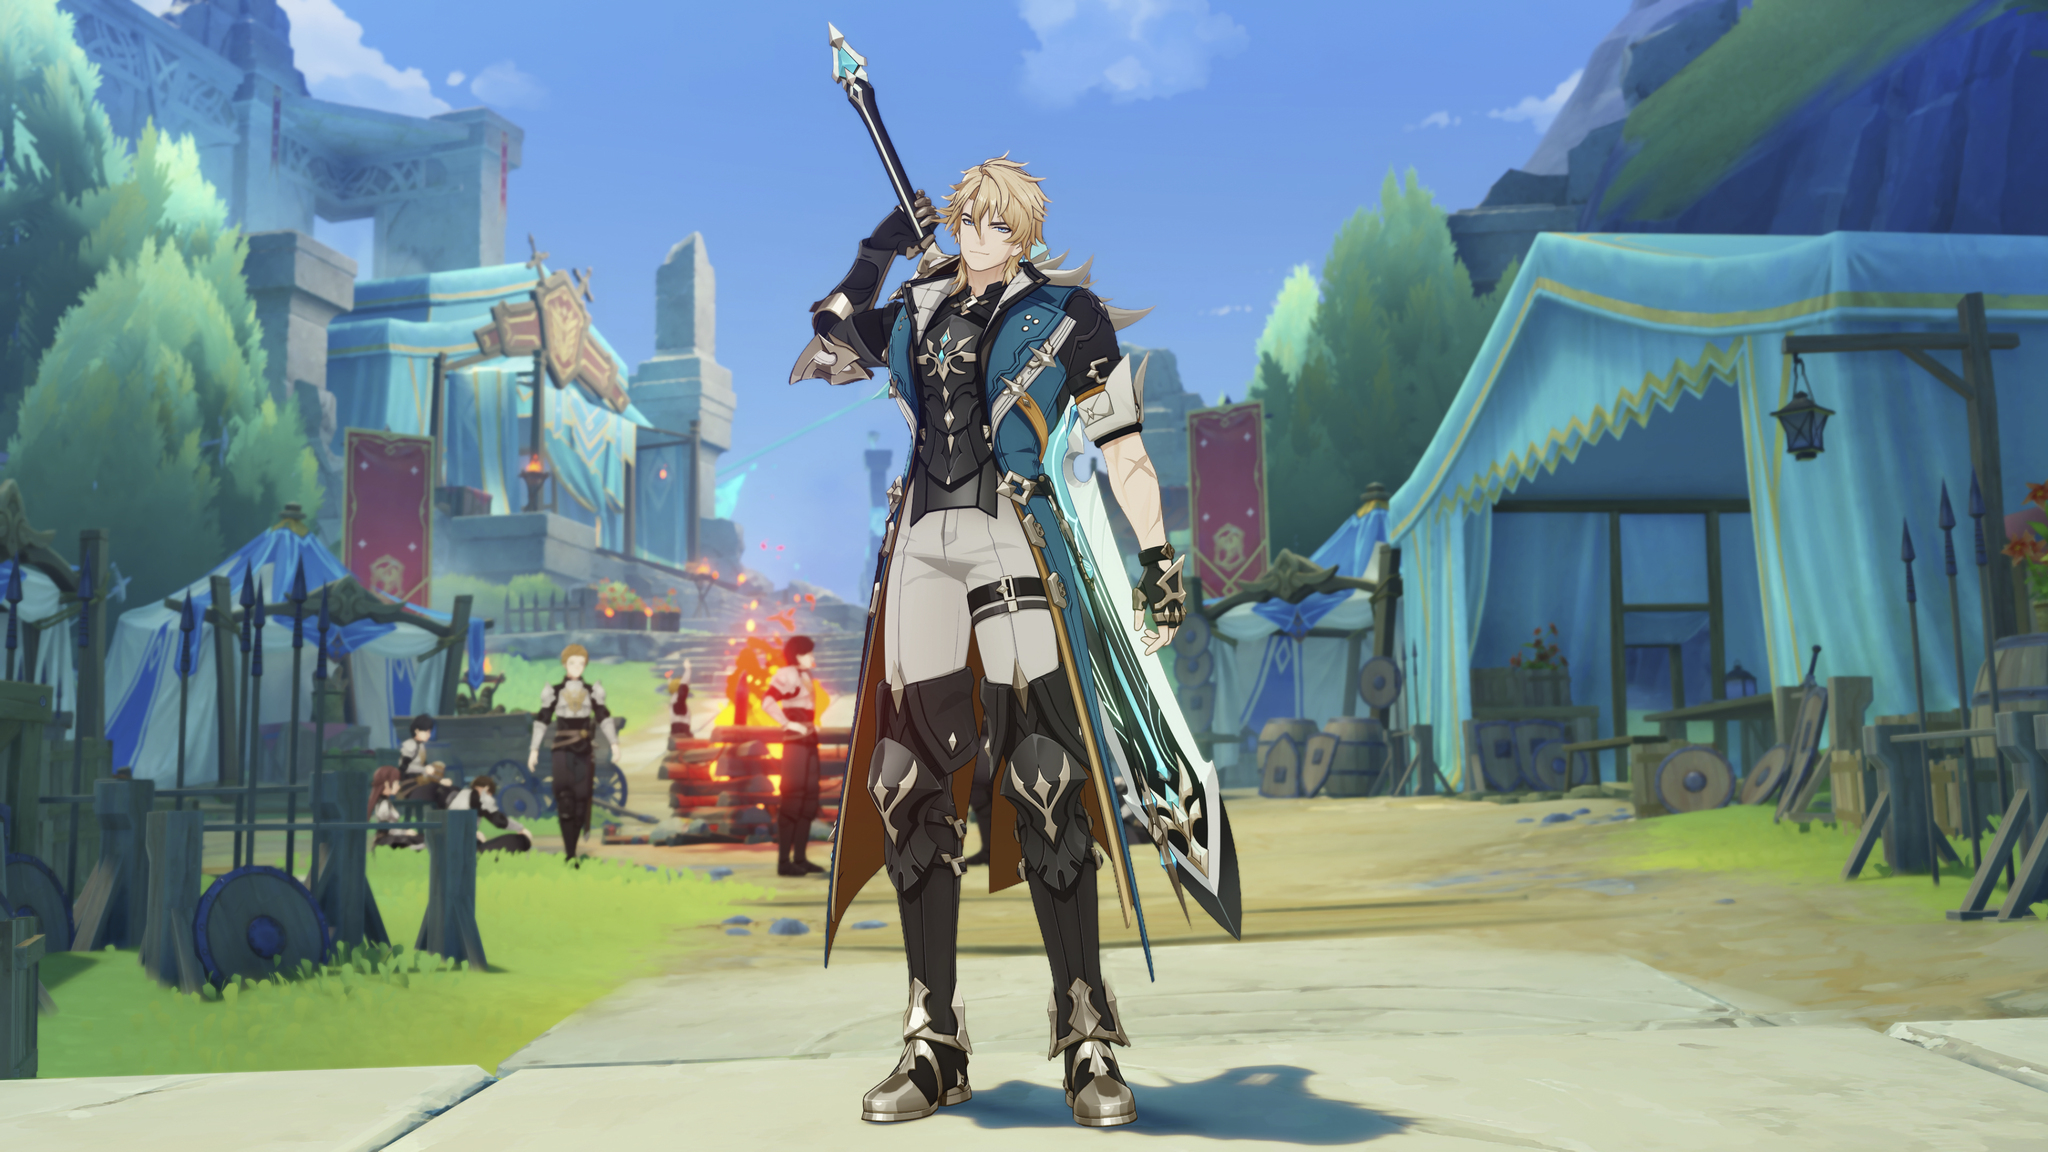
Varka is the latest 5-star character to be added to Genshin Impact, and he looks like an extremely strong character. However, you’ll have to build him right and pair him with teammates that complement his abilities. Let’s begin with the build that can help Varka truly shine as a DPS.
Table of contents
Best Varka build in Genshin Impact
While Varka is a DPS, he is slightly complex to build. He wields two different elements in his Claymores. However, the safest route is to boost his ATK% as much as possible.
Weapon
Gest of the Mighty Wolf is Varka’s best weapon (and his signature). If you manage to pull the weapon, you’re all set. It provides the exact boosts that Varka can thrive on. The passive raises his DMG%, ATK SPD, and CRIT DMG. Hence, Varka can consistently land his combos while dealing more damage with every hit. With a boost to the Crit Rate, it raises Varka’s Crit value as well.
However, what if you don’t have his signature? There are some interesting alternatives.
- A Thousand Blazing Suns: Varka gains decent ATK% and a Crit DMG boost with this weapon whenever he uses a Burst attack or an Elemental Skill. This suits perfectly with Varka, who needs an Elemental Skill for his combo. While you can’t activate Nightsoul’s Blessing mode, the weapon is still a great choice to use with Varka.
- Serpent Spine: If you want something cheaper, the Serpent Spine is a good choice, as you get decent Crit stats.
- Tidal Shadow: This is the best F2P choice for Varka as it raises his ATK by a massive percentage. However, you’ll need a healer on your team to utilize all the buffs.
Artifacts
For Varka, the 4-pc A Day Carved From Rising Winds is the best choice. It raises the base ATK% of Varka and does the same whenever he casts any of his attacks. The set also raises his Crit Rate since he is a Hexerei character (depending on whether you have completed Witch’s Homework).
However, you can also consider the following alternatives.
- 2-pc Gladiator’s Finale and 2-pc Shimenawa’s Reminiscence boost his ATK
- Any 2-pc Elemental DMG Bonus that raises the damage done using his elemental skills.
While this guide doesn’t discuss the best constellations in detail, you should aim to equip C4 “For None May Take From Us Our Freedom of Song” and C6 “Beloved Mondstadt, Steadfast You Shall Shine” without failure.
Talents
For Varka, you’ll aim at leveling up his Elemental Skill as a priority since you’ll do more of the damage from his enhanced attacks. Once done, next in line is Elemental Burst for that slightly extra damage. Varka’s kit doesn’t rely much on his normal attacks, so that should be the lowest on the priority list.
Best teams for Varka in Genshin Impact
Varka offers decent flexibility when you want to build a team around him. So far, I have found two combinations that work pretty well.
- Varka, Furina, Venti, and Kokomi
- Varka, Durin, Bennett, and Venti
Vor Varka, I prefer going with either the full Pyro or the full Hydro route. Varka will be your main DPS, and you need to keep him on the field for as long as possible. Hence, you need units that deliver their best while staying off the field.
You’ll also want to include characters that buff his elemental Claymore since it scales up better when Vargka uses his elemental burst moves. But that’s about it when it comes to using the best team centered around Varka.
The post Best Varka build and team in Genshin Impact appeared first on Destructoid.
Rainbow Six Mobile is now available on mobile devices worldwide, and there are a fair number of operators to unlock at launch.
Operators in Rainow Six Mobile are broadly categorized into Attackers and Defenders. Suffice to say, every Operator is different in terms of how they operate. Despite the game being in its early days, some Operators are simply better.
This guide will help you figure out which Operators are pretty strong in the current meta, and which ones are best avoided at all costs.
Table of contents
Complete Rainbow Six Mobile Attackers tier list
To separate the Operators, I have used four different tiers.
- S-tier Operators are the best choices in their respective roles, and they’re extremely strong at launch.
- A-tier Operators are pretty close to the names on the S-tier, but they have a few weaknesses.
- B-tier Operators are strong characters to consider, but they’re not exactly meta.
- C-tier Operators are either clunky or just poor overall. They’re best avoided unless you’re a fan.
First, let’s look at the Attackers.
S-tier
| Name | Reason |
|---|---|
| Hibana | Hibana is the best breacher in the current roster, all thanks to her X-Kairos Launcher. She can breach fortified and softer walls equally well and open new areas for her allies. |
| Dokkaebi | Having information on your hand is crucial, and that’s where Dokkaebi comes in. While I don’t like the fact that you have to get at least one kill with her, the ability is absolutely overpowered. |
| Thatcher | Thatcher is arguably the best supporter in the entire game and his EMPs are great to disable opposition gadgets. This can put the enemy team on backfoot and hand your allies an unexpected advantage. |
| Lion | Similar to Dokkaebi, Lion can reveal enemy movements. His signature weapon helps to restrict the enemy movement, and you can also use it to corner isolated targets. |
A-tier
| Name | Reason |
|---|---|
| Thermite | Thermite is almost as effective as Hibana when it comes to breaching doors. However, his Exothermic Charges can be slightly clunky to handle, which puts him in the A-tier. |
| Twitch | She is one of the easiest characters to master as her Shock Drone auto-targets and disables enemy gadgets. She’s A-tier since the enemy can shoot at her when she’s controlling the drone. |
| Capitao | Since he can cover the enemy’s vision of the map, you can force your opponents to play in certain zones. This allows your allies to corner and flush them out for easy kills. |
| Ash | A solid breacher who can open up multiple entry-points and secure them due to her incredible speed. However, you’ll still need to master the art of rushing in, as timing it poorly can end with you getting killed instead. |
B-tier
| Name | Reason |
|---|---|
| Sledge | While Sledge is limited as a breacher due to the slow speed of his hammer, his melee ability makes it easy for you to learn the basics with him. |
| Deimos | This is one of the hardest attackers to master, and he also struggles when playing alone. Deimos can be considered as A-tier in a well-coordinated team. |
| Buck | Buck is the perfect example of an Operator who can do almost everything without specializing in any area. His ability to break soft surfaces without having to change his primary is really cool. |
| Ying | The Candela Flash Charge is amazing at blinding the enemy, but aiming it with precision is extremely difficult on a mobile device. You’ll also need other allies to max out its effectiveness. |
C-tier
| Name | Reason |
|---|---|
| Glaz | The Therman Flip Scope allows Glaz to see enemies in smoke, or when you’re hidden in smoke. The problem is the heavy reliance on smoke. If there’s no smoke, Glaz’s ability has zero value. |
| ATK Recruit | Good starting operator with an extra gadget, but should be replaced at the earliest possibility. |
Rainbow Six Mobile Defenders tier list
For Defenders, I have once again used a four-grade tier system, with similar logic behind every rank.
S-tier
| Name | Reason |
|---|---|
| Mira | Mira’s Black Mirror allows you to view enemies through soft and reinforced surfaces, which is such a fun ability to have. Moreover, the enemy will have no idea that you’re well aware of their movements. |
| Bandit | Arguably the best Defender in the current meta, his Shock Wires are absolutely stunning. The gadget can nullify almost all Breacher abilities and prevents them from breaking the surface. |
| Mute | He becomes a must-have if the opposition has Dokkaebi. Mute can deny all opposition information with his drones. His jammer also activates against enemy gadgets that can be detonated remotely. |
| Maestro | Maestro’s Evil Eye is great at detecting enemies with its laser, and the high durability is a bonus. |
A-tier
| Name | Reason |
|---|---|
| Smoke | Smoke is a classic Defender who uses his Gas Grenade to keep enemies from entering specific areas. The effects last for a decent amount of time. |
| Jager | Jager has one of the simplest gameplay. Once you plant his Magpie Defense Systerm, it’s job done. Your remaining task is to hold the strategic points and shoot at the opposition attackers. |
| Kapkan | Kapkan’s Entry Denial Device is a brilliant hybrid that can either hinder enemy movement, or even get kills (thanks to the five charges). |
| Frost | Her Welcome Mats, if placed properly, can restrict enemy Attackers for the rest of the Round. However, the placement is key to maximize their effects. |
B-tier
| Name | Reason |
|---|---|
| Caveira | If you’re good at takedowns, Caveira is S-tier. She can locate all enemies by completing an interrogation (which requires you to take down a single enemy). |
| Valkyrie | While her Black Eye Camera can provide information to the team, it takes a lot of time to set them up effectively. Sometimes, rounds might be over before you can properly set up all her cameras. |
| Castle | His Armor Panel is great at slowing down enemies when they’re trying to push on to the objective. |
| Rook | A very basic Defender who has extra HP to take more damage. However, he is slightly slow to move. |
C-tier
The DEF Recruit is a good operator to learn the role of a Defender, but he doesn’t have much use otherwise.
The post Rainbow Six Mobile Operators tier list appeared first on Destructoid.
Recommended Story For You :

Think of it as a GPS system for World of Warcraft

FIFA 2023 ULTIMATE TEAM MILLIONS MADE EASY

Joana's Clssic WotLK 1-80 & Era 1-60 Speed Leveling Guides

Empowering Gamers with the Ultimate Secret Gold Guide

A Practical Guide For Tactical Gaming

Terra Game - Where Adventure Awaits!