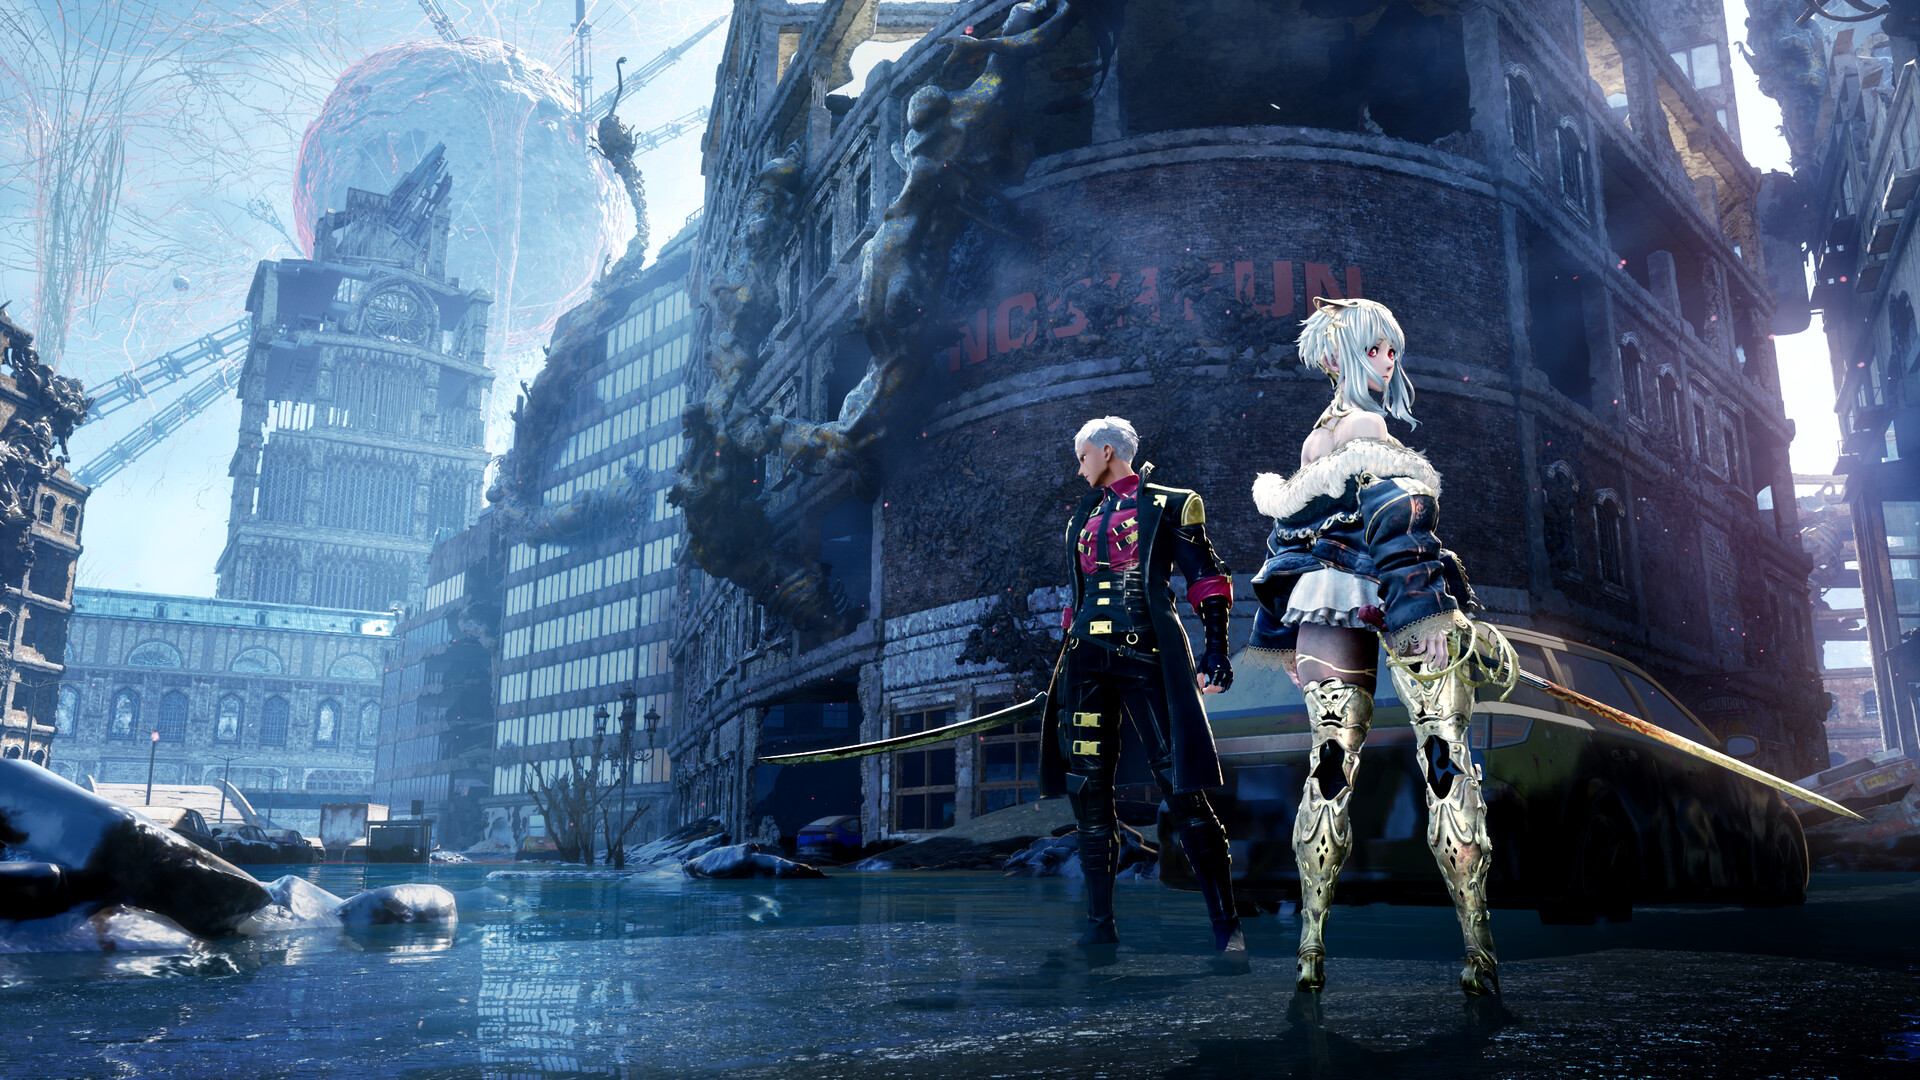
The Burden system in Code Vein 2 is one of the more confusing mechanics to understand, but mastering it will allow you to enjoy a different level of flexibility with your builds.
The Burden system will initially feel extremely complex. However, it allows you to bypass certain limitations that would otherwise remain impossible. Let’s look at how it works and how you can use it for your benefit.
Table of contents
Code Vein 2 Burden System explained
Before understanding what the Burden system is, it’s essential to understand Attributes. Attributes are character stats that determine your build. Different attributes play separate roles, and you’ll want to balance them out (or go all-in in one or two areas if you want).
When you use equipment, there are certain stat requirements. The Burden system allows you to use the equipment even if it doesn’t meet the minimum requirements. Doing so will Overburden your attribute, but you’ll be able to use the equipment.
Here’s an example of how the system works. Let’s assume that your weapon requires 20 Strength, and you have 16 Strength. You can still equip the weapon, but it will Overburden your Strength attribute by four.
Similarly, if you use a weapon that has a lower requirement than your current attributes, it will leave you with leftover attribute points. You can then use these leftover points to balance out another attribute that might be Overburdened.
Overburdening and Burdening don’t affect how the different stats work. However, certain additional effects take place.
Overburden benefits and penalties in Code Vein 2
Burden and Overburden don’t have absolute effects in Code Vein 2. There are certain benefits and penalties that you’ll need to manage.
| Attribute | Advantages | Penalties | Higher Penalty Effect |
|---|---|---|---|
| Stregnth | Raises the power of close-range attacks | Consume extra stamina by missing an attack | More stamina is drained upon a missed attack |
| Dexterity | Get more Ichor from your Drain Attacks | Lose Ichor upon taking hits | More Ichor will be taken when you take hits |
| Mind | Raises your max Ichor | Take HP and LP damage if you don’t have an active Formae buff | HP and LP depletion requires more active buffs |
| Fortitude | Regain Stamina after dodging an attack in the invincibility period | Get the Inhibit status effect if your stamina gets completely depleted | Inhibit lasts for longer |
| Willpower | Raises Formae attack power | Experience reduced attack power when trying to activate Formae without Ichor | Longer attack reduction |
| Vitality | Raises the LP and HP you gain from Regeneration | Experience reduced mobility if the LP falls below a certain limit | Increased LP threshold |
The penalties will scale with your Overburdened stats. The more limits you bypass, the harsher will be the penalties. However, the benefits don’t scale up to the same extent.
How Burden affects Dodges in Code Vein 2
All attributes have a Burden meter. There are three types of dodges: Light, Medium, and Heavy. If you have the Burden meter for all stats below or at half the meter, you’ll gain Light dodges. To gain a Heavy dodge, you’ll need at least two Overburdened stats. Everything else results in Medium dodges.
This feature allows you to customize builds beyond the normal archetypes. You can have heavier builds and still have light dodges (by keeping all the attributes under the correct limits).
The post How does the Burden system work in Code Vein 2 appeared first on Destructoid.
The Icon Swaps program has returned to Ultimate Team after several years of absence, and FC 26 players can obtain some amazing rewards for free of cost.
EA Sports will be releasing 20 tokens in total for you to obtain and exchange them for rewards. The rewards include special Icon cards, repeatable packs, and evolutions. Let’s look at the best reward combinations you can pick from.
Best Icon Swaps rewards to pick in FC 26
As of writing, 10 of the 20 Icon Swaps tokens are available. Grinding them separately will take a lot of time. However, we have a shortcut for you to reduce the grind as much as possible. That said, obtaining all the tokens won’t be easy. We also don’t know what the conditions for the remaining 10 tokens will be in the future.
There could be secret tokens in the future as well, but not everyone will manage to get every token. The table below has the best rewards combination you can opt for. The choices are based on my judgments, and I have heavily gone with the current in-game meta.
| No. of Tokens | Rewards | Reason |
|---|---|---|
| 4 | 20 84+ Rare Gold Players Pack (Two Times)/Xabi Alonso Icon and 25x 82+ Rare Gold Players Pack | Great fodder packs |
| 5 | Tiki Taka+/Xabi Alonso Icon and 20 84+ Rare Gold Players Pack/15 85+ Rare Gold Players Pack and 20 84+ Rare Gold Players Pack | Tiki Taka+ should be taken if you have a meta Icon. Otherwise, you can go for Xabi Alonso and a fodder pack, or just opt for pure fodder. |
| 6 | 25 86+ Rare Gold Players Pack | 25 guaranteed walkouts are amazing. |
| 7 | 25 86+ Rare Gold Players Pack and 25 82+ Rare Gold Players Pack | I don’t like Zambrotta’s icon card. Going for the guaranteed walkout pack is better. |
| 8 | 25 86+ Rare Gold Players Pack and 20 84+ Rare Gold Players Pack | Gambling on a campaign pick isn’t my cup of tea. |
| 9 | Stoichkov/25 86+ Rare Gold Players Pack and 15 85+ Rare Gold Players Pack | Only pick Stoichkov if you don’t have a meta attacker on the left wing. |
| 10 | Iconic Attacker Glow Up | Absolutely fantastic evolution that will improve the attacking lineup of most players in the game. |
| 11-13 | Iconic Attacker Glow Up and Fodder Packs | Pick the evolution and whatever fodder packs you can with the balance. |
| 14-18 | Rio Ferdinand and fodder packs/Iconic Attacker Glow Up and Fodder packs | Choose the option that suits your team more. I will be personally going with the evolution and fodder packs. |
| 19-20 | Ronaldo | This card is a must-have for any player at any given skill level. |
The post Best FC 26 Icon Swaps reward combinations to pick appeared first on Destructoid.
Recommended Story For You :

Think of it as a GPS system for World of Warcraft

FIFA 2023 ULTIMATE TEAM MILLIONS MADE EASY

Joana's Clssic WotLK 1-80 & Era 1-60 Speed Leveling Guides

Empowering Gamers with the Ultimate Secret Gold Guide

A Practical Guide For Tactical Gaming

Terra Game - Where Adventure Awaits!