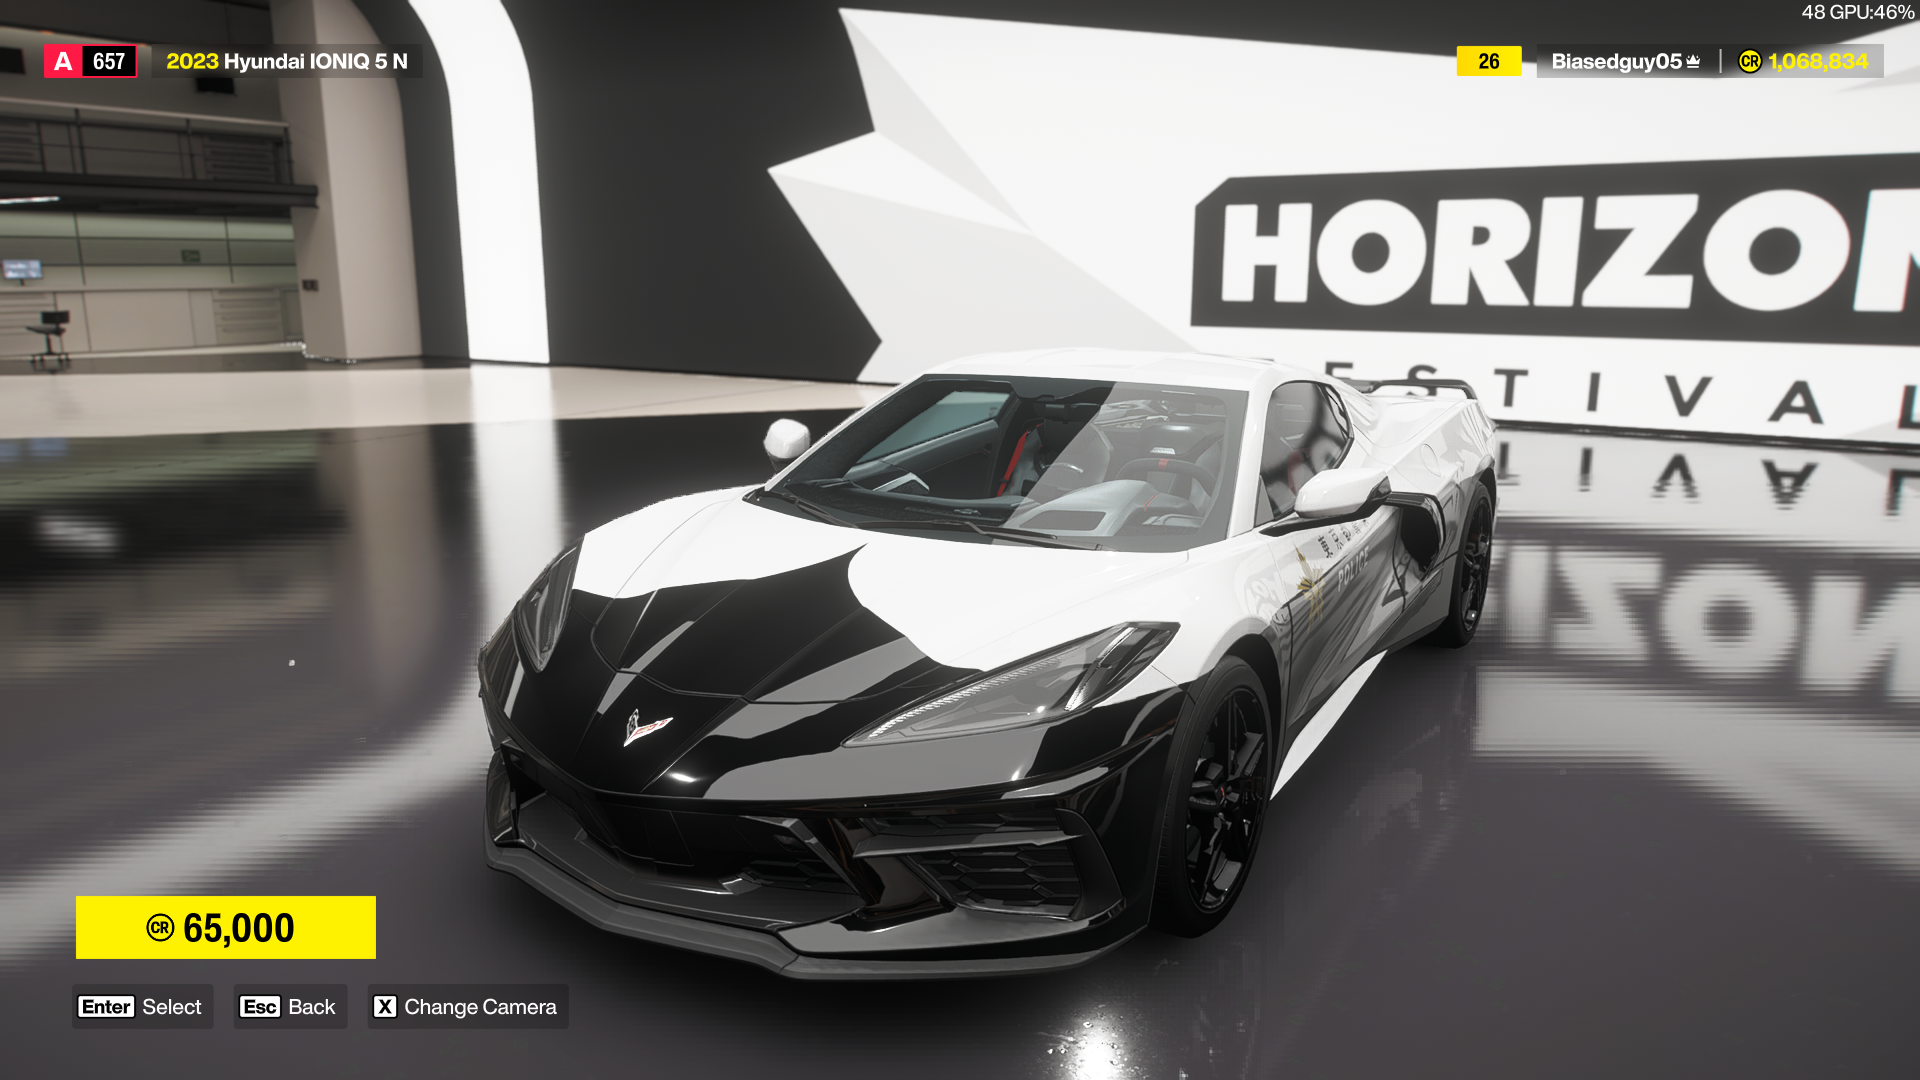
Forza Horizon 6 is now out for those who own the Premium Edition (PC launch coming in a few hours), and we can tweak the graphics to get the best possible results. Getting lag and stutters during a race can be extremely deflating, and they can also adversely affect your performance.
Let’s find out what the best set of settings is for your PC.
Disclaimer: This guide is mostly meant for those who have relatively lower-end PCs who might struggle to run the game smoothly without the tweaks.
Best Forza Horizon 6 graphics settings
Before we dive deep into the settings, here’s my current setup.
- AMD Ryzen 5600G
- NVIDIA RTX 3060 12 GB
- 16 GB of DDR5 RAM
With that out of the way, let’s look at the settings I am currently using. First, we explore the Video settings.
- Resolution: 1920×1080 (personal preference)
- Frame Rate: 36/48 (Go for 72 if your PC can handle it. I have encountered occasional stutters)
- VSync: Off
- Full Screen: On
- Motion Blur: Off
- UI Scale: 100
- Anti-Aliasing: All options turned off.
- NVIDIA DLSS (if applicable): Auto
- Sharpness: 0.3
I have disabled Anti-Aliasing as I prefer using DLSS. You need to use one to get consistent performances.
Let’s now look at the best Graphics and Performance settings to use.
- Car Level Detail: Low (I use Cockpit View anyway)
- Environment Texture Quality: Low
- Environment Geometry Quality: Low
- Car Reflection Quality: Medium
- Screen Space Reflections Quality: Low
- Raytraced Reflections Quality: Off (Ray Tracing is apparently an optimization issue even on higher-end devices)
- Shadow Quality: Low
- Nigh Shadows: Off
- Scree Space GI Quality: Off
- Raytraced GI Quality: Off
- Shader Quality: Medium
- Audio Quality: Very Low (This is related to the CPU and not the GPU)
- Deformable Terrain Quality: Off
- Particle Effects Quality: Very Low
- Volumetric Fog Quality: Off
- Lens Effects: Medium
- Motion Blur Quality: Low
Forza Horizon 6, for large parts, is pretty well-optimized. However, the minute stutters can be slightly problematic if you’re driving in a race. I am hopeful that a few post-launch patches will sort out the problems. But for the rest, you can use the settings mentioned above to get decent results.
The post Best Forza Horizon 6 graphics settings for no lag and max FPS appeared first on Destructoid.
There are two types of survival game players in the world: those who enjoy the thrill of survival in harsh environments and taking on enemies, and those who relax while building massive bases. Subnautica 2 is no exception, especially with its base-building mechanics changing from the first game.
Table of contents
How to build a base in Subnautica 2
Before you can begin making your first base in Subnautica 2, you’ll need to unlock and craft a Habitat Builder tool. Using this tool, you can access a build menu containing corridors, doors, production machines such as a Fabricator, and miscellaneous decorative items.
Subnautica 2 also offers a small tutorial in the form of a NOA entry within a nearby structure. By traveling 80 meters southeast of the Lifepod, you’ll find a Welcome Center building that’s run out of power. Inserting a basic battery into the Welcome Center’s wall panel will power its Bio Lab and NOA, who’ll give you a rundown of how base building works.
How to unlock the Habitat Builder tool
Unlocking and crafting the Habitat Builder tools requires making a Survival Multitool and Scanner. You can craft the multitool using three titanium, while the scanner uses the following resources:
- Titanium (2)
- Quartz (2)
- Basic Battery (1)
Titanium is the easiest of the required resources to find, as it’s an abundant material you’ll find around your Lifepod. Glass requires two quartz, which you’ll also quickly acquire early on. Basic batteries are slightly trickier, as you’ll need to collect copper from nearby caves.
Your next step after making these tools is to search for two old Habitat Builder tools that you can scan. Here’s a breakdown of two possible locations:
- Head back to the Welcome Center. Next to the “Welcome Center” sign outside of its entrance is a metal box containing a Habitat Builder tool.
- Go inside the building. Dive into the hole in the center of the building’s floor to find the second Habitat Builder tool inside a metal storage container next to the Oxygen Tunic.
Once you have both blueprint components, you’ll unlock the Habitat Builder tool in your Fabricator. You can craft it using the following resources:
- Titanium (2)
- Glass (1)
- Basic Battery (1)
- Copper Wire (1)
Titanium is the easiest of the required resources to find, as it’s an abundant material you’ll find around your Lifepod. Glass requires two quartz, which you’ll also quickly acquire early on. Basic batteries and copper wires are trickier, as you’ll need to collect copper from nearby caves and use your Multitool to break Acid Raion for their pouches.
All base building and furniture blueprints in Subnautica 2
Once you build the Habitat Builder tool, you can access your build menu by holding the tool in your hotbar and pressing the Open Menu key (right-click on PC.) As you collect more resources and scan furniture you encounter around the map.
Here’s a complete list of every base-building component and furniture items you can build in Subnautica 2:
Base Pieces
| Recipe | Ingredients |
|---|---|
| Corridor | Titanium (2) |
| Room | Titanium (5) |
| Hatch | Titanium (1) Quartz (1) |
| Window | Glass (1) |
| Nook | Titanium (3) Glass (2) |
| Half Round Room | Titanium (5) Glass (5) |
| Moonpool | Titanium (5) |
Furniture
| Recipe | Ingredients |
|---|---|
| Dining Chair | Titanium (2) |
| LabChair | Titanium (2) |
| Stool | Titanium (1) Rubber (1) |
| Dining Table | Titanium (3) Glass (1) |
| Single Bed | Titanium (2) Fiber (3) |
| S Shelf | Titanium (2) |
| Trashcan | Titanium (2) |
| Small Crate | Titanium (1) |
| Sign | Titanium (1) Copper (1) |
| Reaper Leviathan | Titanium (1) |
Plantables
| Recipe | Ingredients |
|---|---|
| Pent | Pent (1) |
| Macaron Sponge | Fibrous Pulp (3) |
| Mimic Pylon | Fibrous Pulp (5) Copper (4) |
| Freesia Flower | Fibrous Pulp (3) |
| Acid Raion | Medical Gel Sac (1) |
| Cradle Shootroot | Lucifer Rotsac (1) |
| Necrolei Cyst | Necrolei Cyst (1) |
| Cherimoya Rotsac | Cherimoya Rotsac (1) |
Power
| Recipe | Ingredients |
|---|---|
| Solar Panel | Titanium (1) Quartz (2) |
| Hydroelectric Turbine | Titanium (3) Copper (3) Silver (3) |
| Thermal Plant | Titanium (3) Copper (3) Gold (3) |
| Power Transmitter | Titanium (1) Copper (1) |
Production
| Recipe | Ingredients |
|---|---|
| Fabricator | Titanium (1) Copper (1) Quartz (1) |
| Processor | Titanium (2) Mild Acid (1) Copper Wire (1) |
| Biolab | Titanium (3) Copper Wire (1) Mild Acid (1) |
| Modification Station | Titanium (2) Celestine (2) Copper (2) |
Divisional
| Recipe | Ingredients |
|---|---|
| Interior Wall | Titanium (2) |
| Interior Arch | Titanium (1) |
| Interior Door | Titanium (3) Glass (1) Copper Wire (1) |
| Ladder | Titanium (2) |
Lighting
| Recipe | Ingredients |
|---|---|
| Exterior Wall Light | Titanium (1) Copper (1) |
| Spotlight | Titanium (1) Copper (2) |
Storage
| Recipe | Ingredients |
|---|---|
| Wall Locker | Titanium (2) |
| Floor Locker | Titanium (3) Quartz (1) |
| Tailing Chest | Titanium (3) |
| Wall Rack | Titanium (1) Copper (1) |
Tailing Furniture
| Recipe | Ingredients |
|---|---|
| Tailing Table | Titanium (2) |
| Tailing Drum | Titanium (2) Fiber Mesh (2) |
| Tailing Barrel | Titanium (2) |
| Coral Jar | Coral Shavings (2) |
| Small Coral Jar | Coral Shavings (1) |
| Tailing Jar | Fiber (1) Salt (1) |
| Hanging Tailing Jar | Fiber (2) Salt (1) |
| Tailing Rug | Fiber (3) |
Axum Furniture
| Recipe | Ingredients |
|---|---|
| Small Axum Jar | Glass (1) Copper (1) |
| Axum Jar | Glass (1) Copper (2) |
| Tall Axum Jar | Glass (1) Copper (3) |
Utility
| Recipe | Ingredients |
|---|---|
| Habitat Beacon | Titanium (1) |
Lighting
| Recipe | Ingredients |
|---|---|
| Small Ceiling Light | Titanium (1) Copper (1) |
| Rectangular Ceiling Light | Titanium (2) Copper (1) |
| Wall Light Small | Titanium (1) Copper (1) |
| Wall Light Large | Titanium (2) Copper (1) |
| Axum Wall Lamp | Celestine (1) Titanium (1) |
Posters
| Recipe | Ingredients |
|---|---|
| Keep Calm Poster | Titanium (1) |
| Just Keep Swimming Poster | Titanium (1) |
| Safety First Poster | Titanium (1) |
| Scout Ray Poster | Titanium (1) |
| Zezura Poster | Titanium (1) |
| New Life Poster | Titanium (1) |
| Painted Tree Poster | Titanium (1) |
| Pioneer Program Poster | Titanium (1) |
| CHBC Live Poster | Titanium (1) |
| Lost River Poster | Titanium (1) |
Power
| Recipe | Ingredients |
|---|---|
| Battery Terminal | Titanium (2) Quartz (2) Copper Wire (1) |
| Power Cell Terminal | Titanium (3) Copper (3) Wiring Kit (1) |
| Bioreactor | Titanium Ingot (2) Copper Ingot (2) |
| Power Storage | Germanium Ingot (1) Titanium (3) Salt (2) |
Decorations
| Recipe | Ingredients |
|---|---|
| Wall Unit Small | Titanium (1) |
| Wall Panel | Titanium (1) |
| Wall Unit Large | Titanium (3) |
| Wall Vent | Titanium (2) |
| Wall Vent Large | Titanium (3) |
Habitat Systems
| Recipe | Ingredients |
|---|---|
| Biobed | Titanium (3) Glass (1) Copper Wire (1) |
| NOA Terminal | Titanium (3) Glass (1) Copper Wire (1) |
| Scanner Station | Titanium (3) System Chip (1) Wiring Kit (1) |
| Time of Day Display | Titanium (1) Copper (1) Enameled Glass (1) |
Utility
| Recipe | Ingredients |
|---|---|
| Portable Locker | Titanium (4) |
| Beacon | Copper (1) Titanium (1) |
| Portable Oxygen Generator | Titanium (3) Lithium (2) |
| Work Light | Titanium (3) Quartz (2) |
| Dive Elevator | Titanium (4) Copper (2) Quartz (2) |
Exterior Decorations
| Recipe | Ingredients |
|---|---|
| Roof Pmp | Titanium (1) |
| Roof Pump Double | Titanium (2) |
| Roof Cylinder | Titanium (1) |
| Roof Panel Large | Titanium (2) |
| Roof Antenna | Titanium (1) |
| Roof Antenna Large | Titanium (3) |
| Roof Listening Dish | Titanium (3) |
If you’d like to learn more about the game’s crafting recipes, check out our complete Subnautica 2 blueprint list, or click the tags below to explore our growing guide collection.
The post How to unlock base building in Subnautica 2 appeared first on Destructoid.
Recommended Story For You :

Think of it as a GPS system for World of Warcraft

FIFA 2023 ULTIMATE TEAM MILLIONS MADE EASY

Joana's Clssic WotLK 1-80 & Era 1-60 Speed Leveling Guides

Empowering Gamers with the Ultimate Secret Gold Guide

A Practical Guide For Tactical Gaming

Terra Game - Where Adventure Awaits!